Your Trusted Source for Home Fixes & Guides

How to Paint Ikea Furniture: Guide for a Pro Finish

Painting IKEA furniture is a smart way to refresh your home without spending a lot. Many people love IKEA for its affordable prices and clean designs, but after a few years, the furniture can start to look tired or too plain. Learning How to Paint IKEA Furniture can help you transform a basic piece into something unique and stylish. With proper cleaning, surface preparation, priming, and the right paint, you can create a smooth and durable finish that gives your furniture a completely new look.
I’ve painted dozens of Ikea items—bookshelves, dressers, bathroom cabinets—and learned a lot along the way. In this article, you’ll get clear, step-by-step instructions, practical tips, and real homeowner advice to make your project a success.
Why Paint Ikea Furniture?
Ikea furniture is everywhere. It’s affordable, simple, and easy to build. But most pieces use materials like laminate, particleboard, or MDF. These surfaces don’t accept paint easily, and the finish can chip if you don’t prep correctly. Painting Ikea furniture lets you:
- Personalize your style
- Save money compared to buying new
- Cover scratches or stains
- Match other colors in your home
A painted piece can look custom-made, but only if you follow the right process. This article will guide you through each step, share real-life examples, and highlight mistakes to avoid.
Planning Your Project
Before you grab a paintbrush, take a moment to plan. Good preparation leads to better results and fewer headaches.
Choose The Right Piece
Not all Ikea items are good candidates for painting. Solid wood pieces are easiest, but most Ikea products use laminate or veneer. These need special prep. Avoid painting surfaces that will get heavy wear, like tabletops, unless you’re ready for maintenance.
Examples of paintable Ikea furniture:
- MALM dressers
- BILLY bookcases
- KALLAX shelves
- HEMNES nightstands
Decide Your Look
Think about the final color and finish. Do you want a glossy, matte, or satin look? Will you use bold colors or neutrals? Some paints work better for certain styles.
Gather Supplies
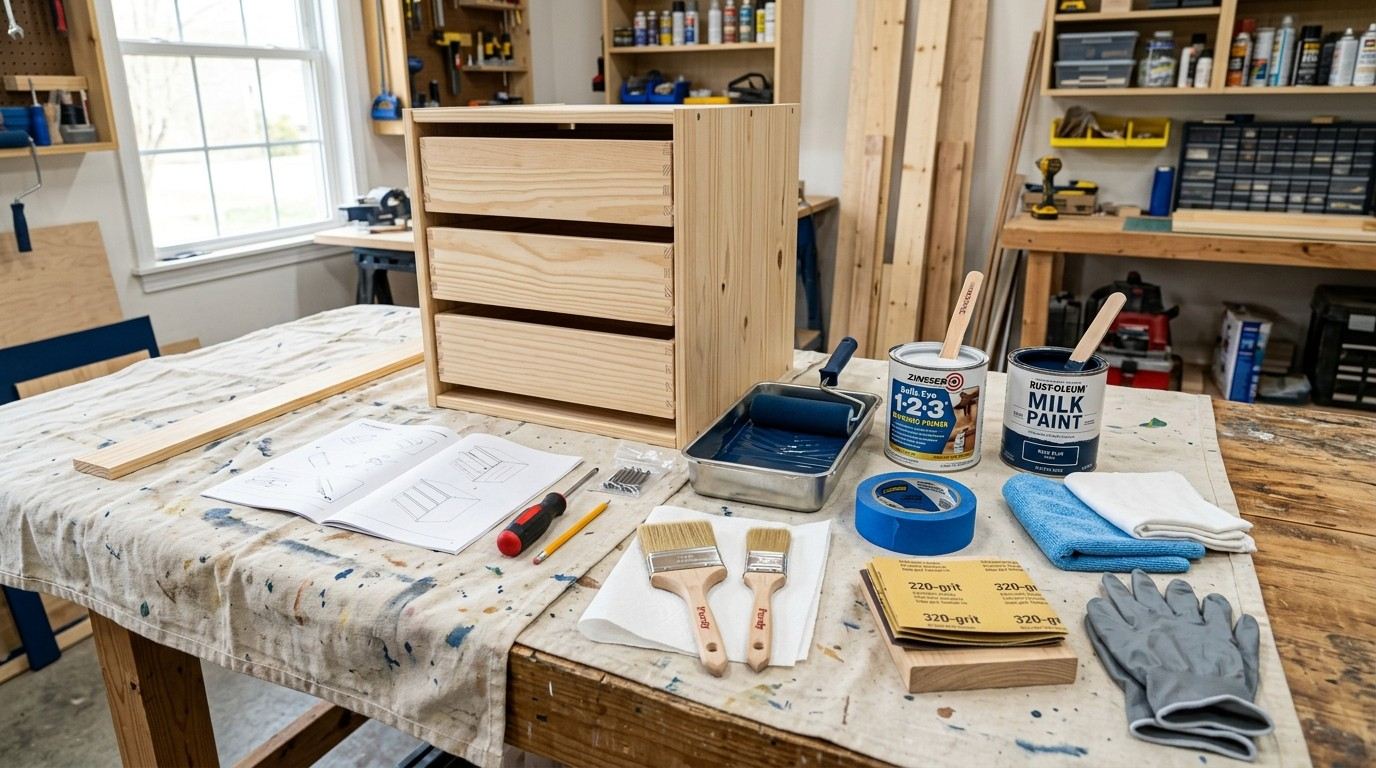
You’ll need:
- Sandpaper (120–220 grit)
- Degreaser or mild cleaner
- Tack cloth
- Primer (bonding or shellac-based)
- Paint (acrylic, latex, or enamel)
- Paintbrushes, rollers, or sprayer
- Drop cloths
- Painter’s tape
- Safety gear: Gloves, mask, goggles
It’s tempting to use leftover house paint, but specialized furniture paints last longer and resist scratches.
Safety Precautions
Painting furniture isn’t dangerous, but you should still protect yourself and your home.
- Always paint in a well-ventilated area. Open windows or use fans.
- Wear a mask to avoid breathing dust or paint fumes.
- Protect floors and nearby items with drop cloths.
- Use gloves when sanding and painting.
- Keep children and pets away during the process.
Some primers and paints contain chemicals that can irritate skin or lungs. If you’re pregnant, have allergies, or health concerns, choose water-based products and extra ventilation.
Step-by-step Guide To Painting Ikea Furniture
Every project is a little different, but the main steps stay the same. Here’s how to paint Ikea furniture for durable, attractive results.
1. Disassemble If Possible
Remove drawers, doors, shelves, and hardware. Painting these parts separately is easier and leads to a smoother finish. Keep screws and small pieces in a labeled bag.
2. Clean Thoroughly
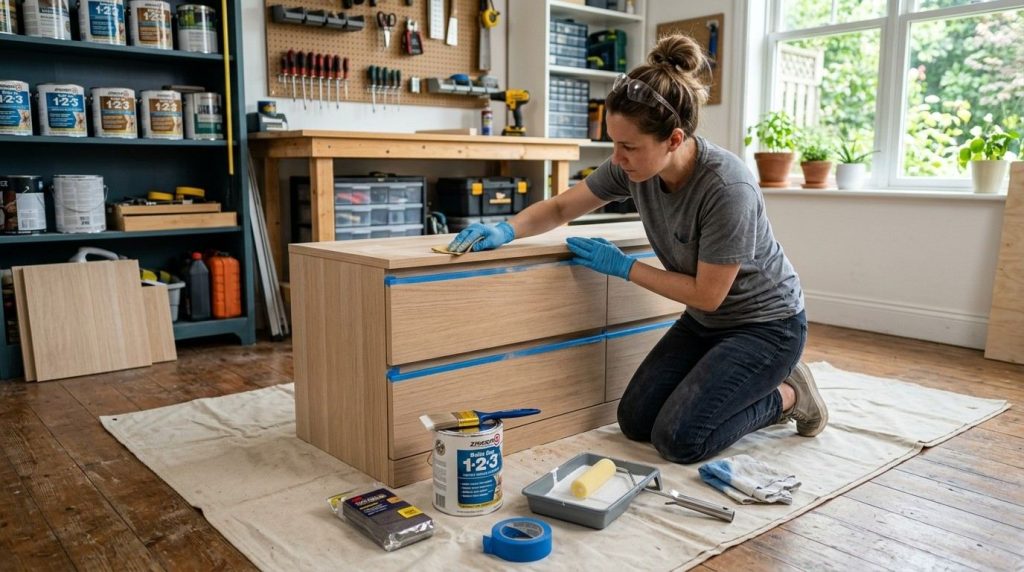
Ikea furniture often has oils, dust, or fingerprints. Use a mild degreaser or dish soap and water. Wipe all surfaces, then dry completely. Skipping this step can cause paint to peel.
3. Sand The Surface
Laminate and veneer are slick, so sanding is crucial. Use 120–220 grit sandpaper. Sand lightly to rough up the surface—don’t try to remove the finish entirely. Wipe away dust with a tack cloth.
Common mistake: Sanding too little. The paint won’t stick well and may chip.
4. Apply Primer
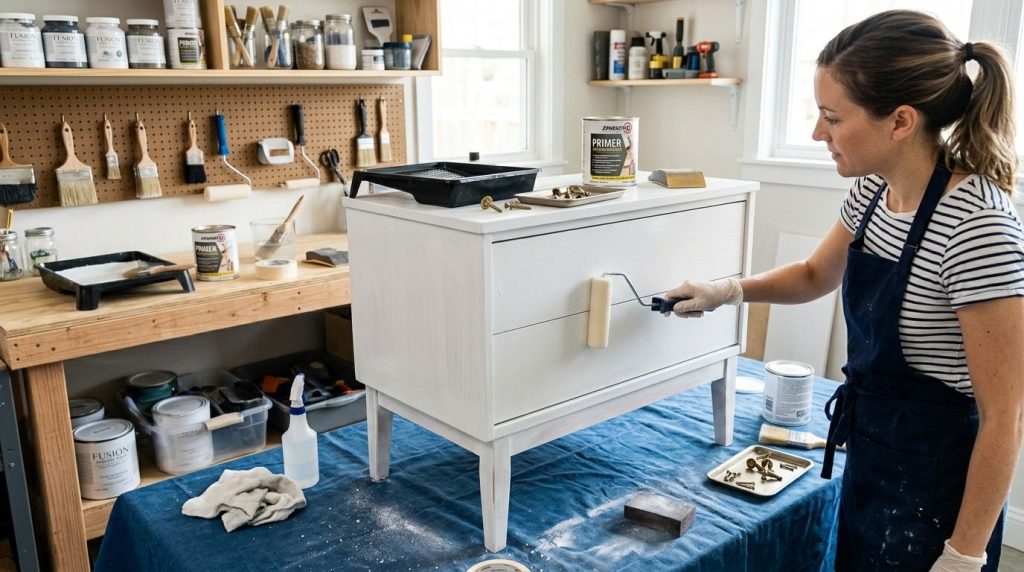
A bonding primer is key for Ikea’s laminate surfaces. Shellac-based primers like Zinsser BIN or water-based bonding primers like Kilz are popular. Apply a thin, even coat and let it dry fully (usually 1–2 hours). If you skip primer, your paint may scratch off.
5. Sand Again (optional)
For a super-smooth finish, lightly sand the primer once dry. Remove dust with a tack cloth.
6. Paint
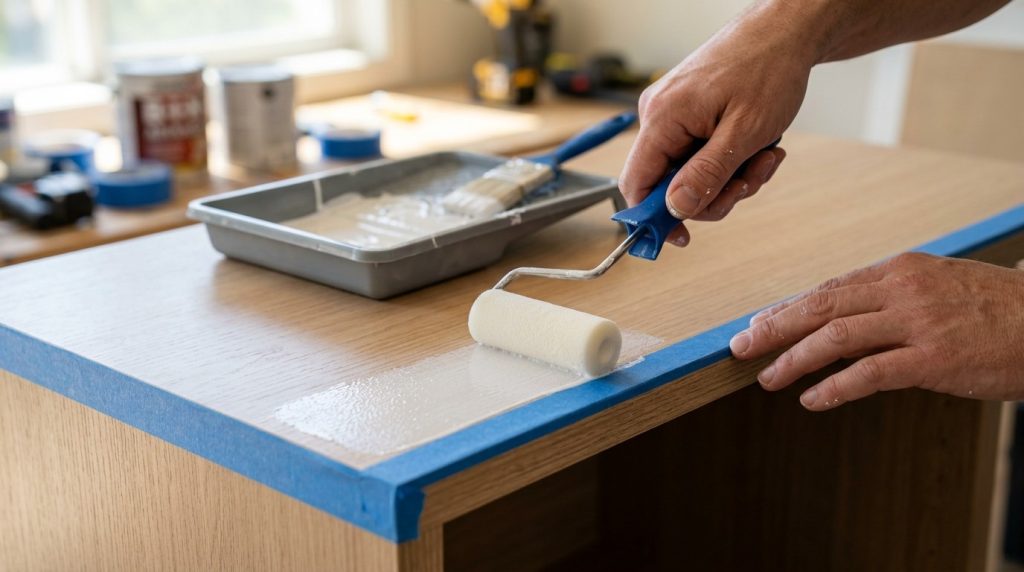
Use a high-quality acrylic, latex, or enamel paint. Furniture paints, like Benjamin Moore Advance or Sherwin-Williams ProClassic, are durable and resist scuffs. Apply paint in thin coats. Use a brush for corners and a roller or sprayer for large surfaces.
Let each coat dry completely before adding another (usually 4–6 hours). For most projects, 2–3 coats are enough.
Non-obvious tip: If you want a factory-smooth finish, use a foam roller or sprayer. Brush marks can be visible on glossy paints.
7. Protect The Finish
Once the paint is dry, add a clear topcoat (polyurethane or polycrylic) for extra durability. This is especially important for surfaces that get daily use. Water-based topcoats dry faster and don’t yellow over time.
Real-life Case Study: Transforming A Malm Dresser
Let’s look at a real project. Sarah, a homeowner in Ohio, wanted to update her white MALM dresser for her son’s bedroom. She followed these steps:
- Disassembled the dresser and removed all drawers.
- Cleaned each piece with a degreaser.
- Sanded all surfaces with 180-grit sandpaper.
- Applied two coats of shellac-based primer, sanding lightly between coats.
- Painted with a dark blue furniture paint using a foam roller.
- Added a water-based polycrylic topcoat.
Sarah spent about $50 on supplies and finished the project in a weekend. The dresser still looks great after two years—no chips or scratches, even with heavy use.
Key insight: Sarah’s careful prep made the difference. Many people skip sanding or priming, but these steps are essential for durability.
Comparing Paint Types For Ikea Furniture
Choosing the right paint is important. Not all paints work well on Ikea surfaces. Here’s a quick comparison:
| Paint Type | Durability | Ease of Use | Best For |
|---|---|---|---|
| Acrylic | Good | Easy | Decorative pieces |
| Latex | Moderate | Easy | Large surfaces |
| Enamel | Excellent | Moderate | High-use furniture |
| Chalk Paint | Fair | Easy | Vintage look |
If you’re painting something like a bathroom vanity, choose enamel for moisture resistance. For living room shelves, acrylic or latex works fine.
Primer Choices: Which Is Best?
Primers make paint stick to tricky surfaces. Here’s a comparison of popular primer types:
| Primer Type | Adhesion | Odor | Dry Time | Recommended For |
|---|---|---|---|---|
| Shellac-Based | Excellent | Strong | Fast | Laminates, MDF |
| Water-Based Bonding | Good | Low | Moderate | Most surfaces |
| Oil-Based | Good | Moderate | Slow | Wood, heavy stains |
For most Ikea projects, shellac-based or water-based bonding primers are best. Oil-based primers are less common today and harder to clean up.
Painting Ikea Furniture In The Bathroom
Bathrooms are humid, and moisture can cause painted surfaces to peel. If you’re painting Ikea bathroom cabinets, take extra care:
- Use a moisture-resistant enamel paint.
- Seal edges and corners with a clear topcoat.
- Avoid painting inside sink cabinets—water leaks can damage the finish.
- Allow painted surfaces to cure for at least 7 days before heavy use.
If your bathroom has poor ventilation, dry the paint in another room. If you notice peeling or bubbling, stop and check for hidden moisture before continuing.
Common Mistakes And How To Avoid Them
Many DIYers make mistakes that lead to poor results. Here are some common errors:
- Skipping sanding: Paint won’t stick and chips easily.
- Not using primer: The finish peels, especially on laminate.
- Painting thick coats: Leads to drips and uneven texture.
- Using cheap paint: Results in poor durability and color fading.
- Ignoring dry times: Touching surfaces too soon causes smudges and marks.
- Painting over dirty surfaces: Dirt and grease block adhesion.
- Not protecting surroundings: Paint splatters on floors or walls.
Non-obvious insight: Always label hardware and screws when disassembling. Ikea furniture has many small parts, and losing track makes reassembly frustrating.
When To Call A Licensed Professional
Most painting projects are safe for DIY, but some situations need expert help:
- Lead paint concerns: Older homes may have lead-based paint underneath. If you suspect lead, hire a certified pro for testing and removal.
- Large built-in units: Painting wall-mounted cabinets or custom installations may require professional prep and tools.
- Complex repairs: If your furniture is damaged (cracked, waterlogged, or warped), a professional can repair or refinish it safely.
If you feel uncertain about sanding, priming, or painting, ask a local handyman or painter for advice. A quick consult can prevent costly mistakes.
Final Touches: Hardware And Accessories
After painting, consider updating drawer pulls, knobs, or legs. These small changes can make Ikea furniture look high-end.
- Choose hardware that matches your new color scheme.
- Drill new holes carefully if needed—measure twice, drill once.
- Add felt pads to the bottom of furniture for floor protection.
Caring For Painted Ikea Furniture
Your painted piece needs a little care to stay beautiful:
- Clean with a soft, damp cloth—avoid harsh chemicals.
- Fix chips or scratches quickly with touch-up paint.
- Don’t place hot or wet items directly on painted surfaces.
- Allow the paint to cure fully before heavy use (usually 7–14 days).
If you follow these tips, your furniture will last for years and look great.
Case Study: Bathroom Cabinet Makeover
Mike, a homeowner in Texas, wanted to update his Ikea bathroom cabinet without replacing it. He followed these steps:
- Removed cabinet doors and cleaned thoroughly.
- Sanded all surfaces with 150-grit sandpaper.
- Applied a shellac-based primer, allowing extra dry time.
- Used a moisture-resistant enamel paint in soft gray.
- Added two coats of water-based polycrylic topcoat.
- Reinstalled doors and added new brushed nickel pulls.
The cabinet has survived daily humidity for over a year. Mike credits careful sealing and using the right paint for the long-lasting finish.
Key takeaway: Moisture protection is essential in bathrooms. Don’t rush between coats, and use the best products you can afford.
Budget Considerations: Is It Worth It?
Painting Ikea furniture is cost-effective, but costs can add up. Here’s a rough breakdown:
| Item | Average Cost | How Long It Lasts |
|---|---|---|
| Primer | $12–$20 | 2–3 projects |
| Paint | $18–$35 | 1–2 projects |
| Topcoat | $15–$22 | 2–3 projects |
| Sandpaper | $5–$8 | Several projects |
| Hardware | $10–$30 | Optional |
Most people spend $50–$100 for a dresser or bookshelf makeover. This is much less than buying new furniture. For more examples and tips, check out Family Handyman.
Frequently Asked Questions
How Long Does Painted Ikea Furniture Last?
With proper prep and high-quality products, painted Ikea furniture can last 3–5 years or more. Surfaces with heavy use may need touch-ups sooner.
What Paint Is Best For Ikea Laminate Surfaces?
Acrylic, latex, or enamel paints all work well. Enamel is best for high-traffic areas. Always use a bonding primer to help paint stick.
Can I Paint Ikea Furniture Without Sanding?
Sanding is strongly recommended. It helps the primer and paint bond to slick surfaces. Skipping sanding often leads to peeling or chipping.
Is It Safe To Paint Ikea Furniture Indoors?
Yes, but make sure the area is well-ventilated. Open windows or use fans. Wear a mask to avoid breathing fumes, especially during sanding and priming.
Can I Use Spray Paint On Ikea Furniture?
Spray paint works for small items or hardware. For large surfaces, use a furniture paint with a roller or brush. Spray paint can be tricky to control and may require extra coats.
Painting Ikea furniture is a rewarding project for any homeowner. With careful prep, the right materials, and attention to detail, you can create custom pieces that fit your style and last for years. Don’t rush—take your time, and enjoy the transformation.