Your Trusted Source for Home Fixes & Guides

How to Install an Interior Door: Easy Guide for Beginners

Replacing an interior door might sound intimidating, but with the right steps, tools, and a bit of patience, it’s a project most homeowners can tackle. A new door can update the look of any room, improve privacy, and even boost property value.
Whether you’re remodeling or simply swapping out a damaged door, doing the job yourself can save on labor costs and give you the satisfaction of a hands-on home improvement.
As someone who’s installed dozens of doors in bathrooms, bedrooms, and even tricky basement spaces, I can assure you: the process is straightforward if you stay organized and follow some essential tips. Let’s walk through how to install an interior door from start to finish, with real-world advice, common pitfalls, and safety tips included.
Understanding Interior Door Types
Before you pick up a hammer, you need to know what kind of door you’re dealing with. There are two main types:
- Prehung doors: These come attached to a frame with hinges already installed. They’re best when you’re replacing both the door and the old frame, or if your frame is out of square.
- Slab doors: Just the door itself, no frame or hardware. These are ideal if your existing frame is in good shape.
Here’s a quick comparison to help you decide:
| Feature | Prehung Door | Slab Door |
|---|---|---|
| Comes with frame | Yes | No |
| Installation difficulty | Moderate | Advanced |
| Best for | Damaged frames or major remodels | Cosmetic updates |
| Cost | Higher | Lower |
Pro tip: If this is your first time, a prehung door is usually simpler—especially if your old frame is worn or warped.
What You’ll Need: Tools And Materials
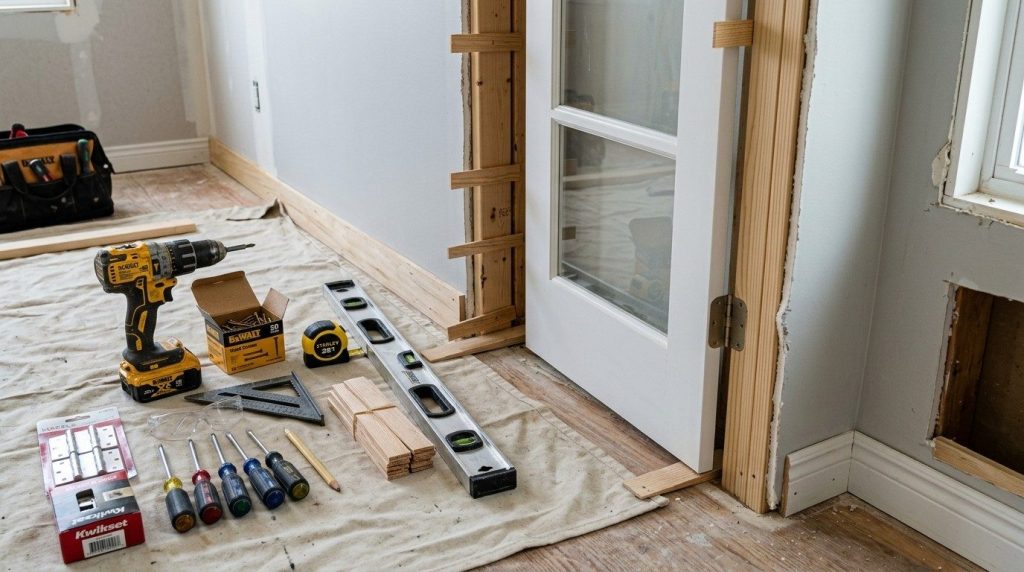
Get everything together before you start. Here’s a checklist of the essentials:
- New door (prehung or slab)
- Measuring tape
- Hammer and nails (or a nail gun)
- Drill and bits
- Screwdriver
- Shims (wooden or plastic)
- Level (2-foot or 4-foot)
- Utility knife
- Pry bar
- Wood filler
- Caulk and caulking gun
- Finishing nails or trim screws
- Paint or stain (if finishing)
- Safety glasses and gloves
You’ll also need a saw if you have to trim the door or casing. For slab doors, you may need a chisel and a hole saw for the knob.
Safety note: Always wear safety glasses when working with tools, especially power tools. If you’re handling heavy doors or awkward frames, gloves help prevent cuts and splinters.
Measuring For Your New Door
Accurate measurements are everything. A door that’s too big or too small will cause headaches later.
- Width: Measure the width of the existing door, not just the opening. Measure at the top, middle, and bottom—use the smallest measurement.
- Height: Measure from the floor (or threshold) to the top of the door.
- Thickness: Most interior doors are 1-3/8 inches thick. Double-check yours.
- Hinge placement: If you’re replacing a slab, measure from the top of the door to the top and bottom of each hinge, and the distance from the edge.
Record everything. Even half an inch off can cause the door to drag or not close properly.
Common mistake: Guessing or rounding measurements. Measure twice, write it down once.
Removing The Old Door
Take your time here—rushing can damage your trim or drywall.
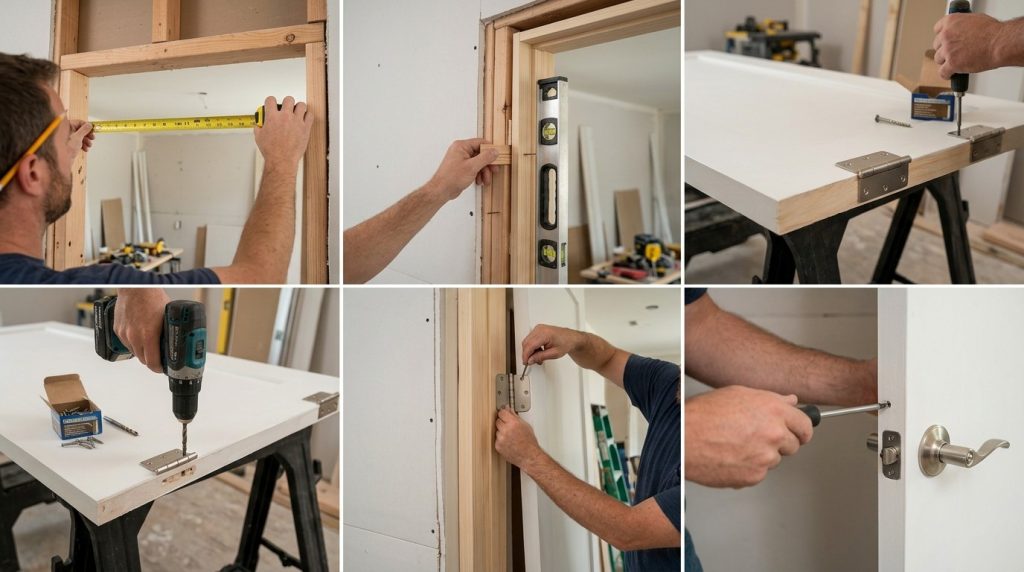
- Remove the door: Use a screwdriver or drill to take out the hinge pins. With a helper, lift the door off.
- Take off the trim: Slide a utility knife along the edge of the casing to cut any paint or caulk. Pry the trim away gently with a pry bar.
- Remove the frame (if prehung): Pry out the old frame, starting at the bottom. Watch for nails or screws.
Tip: Save your trim if it’s in good shape—you can reuse it. Label each piece so you know where it goes.
Preparing The Rough Opening
The rough opening is the space in the wall where the door sits. It should be about 2 inches wider and taller than your door.
- Clean the opening: Remove debris, old nails, and leftover shims.
- Check for level and plumb: Use a level to check the sides and the floor. Fix any out-of-level spots with shims or a little wood filler.
- Check the header: The top of the opening should be flat. If it sags, you’ll need to reinforce it before installing the new door.
| Problem | What to Do |
|---|---|
| Opening too small | Trim drywall or framing as needed |
| Opening too big | Use extra shims or filler strips |
| Floor not level | Add shims under the jambs |
Insider tip: If you see signs of water damage, especially in bathrooms, address it now. Mold or rot under door frames is common and should be fixed before installing anything new.
Installing A Prehung Door
This is the most popular choice for DIYers because it comes ready to fit.
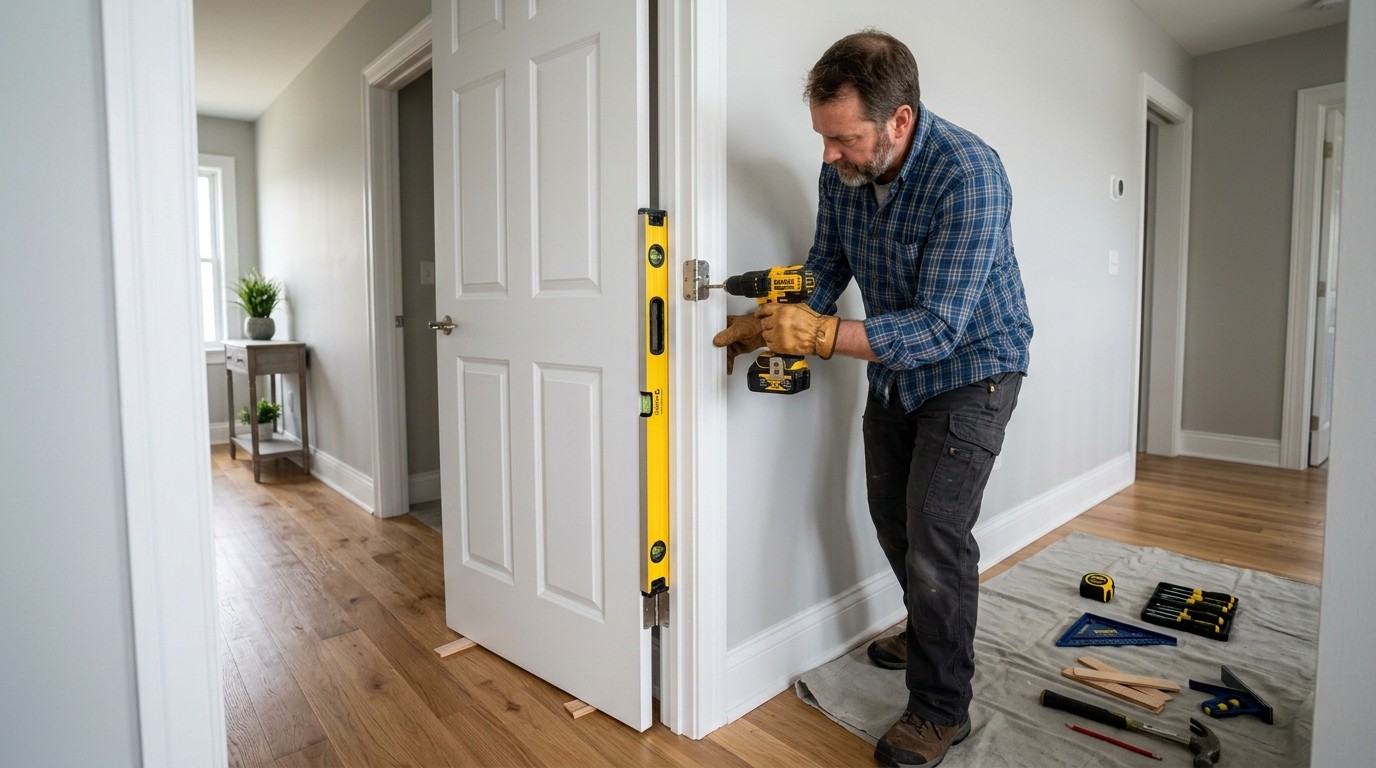
- Test fit the door: Place the prehung unit in the opening. The hinge side should be flush with the wall.
- Insert shims: Starting at the bottom, slide shims between the frame and wall studs at each hinge location. Use your level to keep the frame plumb (perfectly vertical).
- Nail or screw the frame: Secure the hinge side first. Use long finishing nails or screws through the shims into the studs. Don’t overdrive the fasteners—just snug.
- Check for square: Close the door to see if the gap around the edge (the reveal) is even. Adjust shims as needed.
- Secure the latch side: Shim behind the strike plate area, check for level, and fasten.
- Fill remaining gaps: Add shims at the top and wherever the frame feels loose.
- Trim shims: Cut off excess with a utility knife.
- Reinstall casing: Nail your trim or casing back in place.
- Caulk and paint: Fill nail holes and any small gaps with caulk or wood filler.
Case study: When I remodeled a client’s bathroom, they chose a solid-core prehung door for noise reduction. By taking the time to shim carefully, the door closed quietly and sealed perfectly against steam—no more warped frames like their old hollow-core door.
Installing A Slab Door
Slab doors are trickier because you have to cut the hinges and knob holes yourself. If your existing frame is solid and square, though, a slab can save money.
- Mark hinge locations: Use your old door as a template or measure the frame carefully.
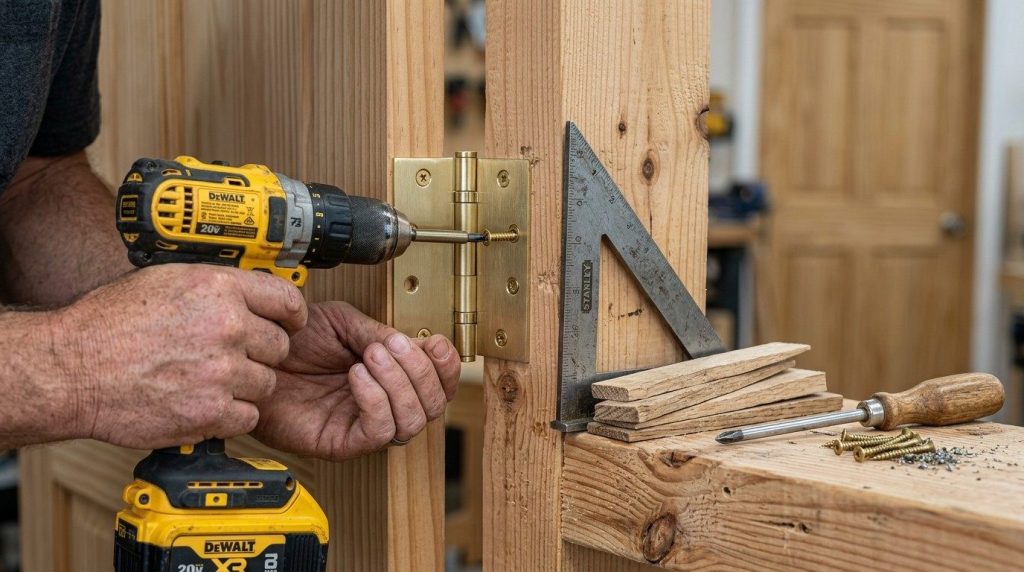
- Cut hinge mortises: Use a chisel or router to cut shallow recesses for the hinges. They need to be flush with the edge of the door.
- Drill for the knob: Mark the height (usually 36 inches from the floor) and drill the hole with a hole saw. Drill a latch hole on the edge.
- Attach hardware: Screw hinges onto the door, then mount the knob and latch.
- Test fit: Place the door in the opening. Check for rubbing or tight spots.
- Trim if needed: Plane or sand the edges for a perfect fit.
- Hang the door: Attach the hinges to the frame. Test operation.
- Finish: Paint or stain before installing the final hardware.
Common mistake: Cutting hinge mortises too deep. Go slow—too deep and the door will bind.
Adjusting And Finishing Touches
Even a well-installed door may need final tweaks. Here’s what to look for:
- Uneven gap: Adjust shims or sand the edge for a consistent reveal.
- Door rubs or drags: Plane or sand the bottom or sides slightly.
- Latch doesn’t catch: Move the strike plate up or down as needed.
- Squeaky hinges: Add a drop of silicone spray or oil.
After adjustments, fill any nail holes with wood filler, sand smooth, and touch up with paint. Caulk the trim for a clean look—especially in bathrooms or laundry rooms, where moisture can sneak in.
Pro tip: For bathrooms, use a paint rated for high humidity and seal the bottom edge of the door to prevent swelling.
When To Call A Pro
Most interior doors are DIY-friendly, but there are times to call a licensed contractor:
- Structural changes: If you need to widen a door or cut into a load-bearing wall, get professional help.
- Electrical or plumbing nearby: If there are wires or pipes in the wall, better safe than sorry.
- Major rot or mold: This means hidden damage. Pros can handle repairs safely.
For most simple replacements, a handy homeowner with basic tools can do the job confidently.
Safety Tips You Shouldn’t Ignore
Home improvement is rewarding, but safety always comes first:
- Wear safety glasses whenever you’re cutting, nailing, or drilling.
- Work with a partner when lifting heavy doors or frames.
- Check for wires before cutting into walls.
- Use ladders safely—never stand on the top rung.
- Keep the workspace clear to avoid tripping.
Never rush. Accidents happen when you’re tired or distracted.
Real-world Example: Bathroom Door Upgrade
A couple in Ohio wanted to update their main bathroom. Their old hollow-core door had warped from years of steam and didn’t close properly. They chose a solid-core prehung door with a moisture-resistant finish.
The old frame was out of square—one side was almost half an inch higher than the other. By carefully measuring, shimming, and checking for level at each step, they installed the new door in about four hours. The result? A snug, quiet door that keeps humidity in and looks sharp with the bathroom’s new paint.
Key takeaway: Don’t skip the prep and measuring steps. Most problems happen when people rush or assume their frame is perfectly square.
Comparison: Diy Vs. Professional Door Installation
If you’re deciding between doing it yourself and hiring a pro, consider the following:
| Factor | DIY | Professional |
|---|---|---|
| Cost | $75–$250 (door + supplies) | $250–$700 (labor + materials) |
| Time | 2–5 hours | 1–3 hours |
| Skill required | Moderate | Low (you relax!) |
| Warranty | No | Yes (usually) |
| Custom fitting | Challenging | Easier for pro |
DIY is more affordable and rewarding, but pros are faster and can handle tricky jobs.
Common Mistakes And How To Avoid Them
Many door installations go sideways because of avoidable errors. Watch out for these:
- Skipping measurements: Guesswork leads to poor fit.
- Not checking for level: A crooked frame means a crooked door.
- Forgetting shims: Without shims, your frame will move over time.
- Over-tightening screws: This can warp the frame.
- Ignoring finish: Unsealed edges (especially on bathroom doors) can swell and warp.
Take your time, check your work, and don’t be afraid to redo a step if something looks off.
Practical Tips For A Smooth Install
- Have all materials ready: Avoid constant trips to the hardware store.
- Label parts: Mark your trim and shims for easy reassembly.
- Use the right fasteners: Match nails or screws to your wall type (wood, metal, plaster).
- Prime and paint before hanging: It’s much easier to paint a door lying flat.
- Leave a small gap at the bottom: For airflow, especially in bathrooms.
Non-obvious insight: If you live in an older home, check for lead paint around the trim before sanding. Use a test kit and follow EPA safety guidelines.
Frequently Asked Questions
How Do I Know If I Need A Prehung Door Or Just A Slab?
If your door frame is damaged, not square, or you’re remodeling a room, a prehung door is best. If the frame is solid and you just want a new look, a slab door is enough. Always measure your frame carefully.
Can I Install An Interior Door If The Opening Isn’t Perfectly Square?
Yes, but you’ll need to use shims to adjust for gaps and make sure the door hangs straight. This takes extra time and patience, but most homes have small imperfections, especially older ones.
What’s The Best Way To Cut A Door To Size?
Use a circular saw with a straightedge guide for long cuts, and sand the edge smooth. Always cut a little at a time and test fit—the door can’t be “uncut.” For small adjustments, a block plane works well.
How Much Space Should I Leave At The Bottom Of The Door?
Leave a 1/2-inch gap for carpet, or 1/4-inch for hard floors. This allows for air circulation and prevents the door from dragging. Check with local building codes, as some bathrooms may require a specific gap for ventilation.
Where Can I Find More Resources On Interior Door Installation?
The Family Handyman website offers detailed guides and videos: Family Handyman. For building codes or safety info, visit your local government’s website.
Replacing an interior door is a weekend project that pays off with better privacy, style, and value. With careful measuring, the right tools, and a step-by-step approach, most homeowners can achieve a professional-looking result. Don’t cut corners—measure, level, and shim for a door that works perfectly every time.
And remember, when in doubt, it’s always smart to ask a pro for help.