Your Trusted Source for Home Fixes & Guides


How to Make an Exterior Door: A Step-by-Step DIY Guide

How to Make an Exterior Door can be a rewarding DIY project that combines woodworking, home security, energy efficiency, and personal style. If you’re wondering how to make an exterior door, careful planning, accurate measurements, durable materials, and the right tools are essential for a strong, weather-resistant result. Whether you’re building a front entry, back door, or garage side door, this guide covers the key steps and practical tips advanced DIYers need for a successful project.
Let’s dive into every step, from choosing the best wood to adding hardware, weatherproofing, and making sure your door lasts for years. Along the way, I’ll share professional tips, common mistakes, and a real-world case study to help you avoid pitfalls.
If you’ve ever considered making an exterior door, this guide will give you the clear, trustworthy advice you need.

Why Build Your Own Exterior Door?
Buying a door at the store is convenient, but there are strong reasons to build your own:
- Customization: You can match your home’s style perfectly—size, panels, glass inserts, and finish.
- Material Quality: Many factory doors use lower-grade wood or fillers. You pick solid, quality lumber.
- Durability: Hand-built doors, if sealed and maintained, often outlast mass-produced ones.
- Cost Savings: High-end custom doors can cost thousands. DIY saves labor and lets you choose materials.
- Satisfaction: There’s pride in using something you crafted every day.
But be honest about your skills. If you’re new to woodworking, start with a simpler interior door project first. Exterior doors must withstand weather, resist warping, and keep your home secure.
Tools And Materials Needed
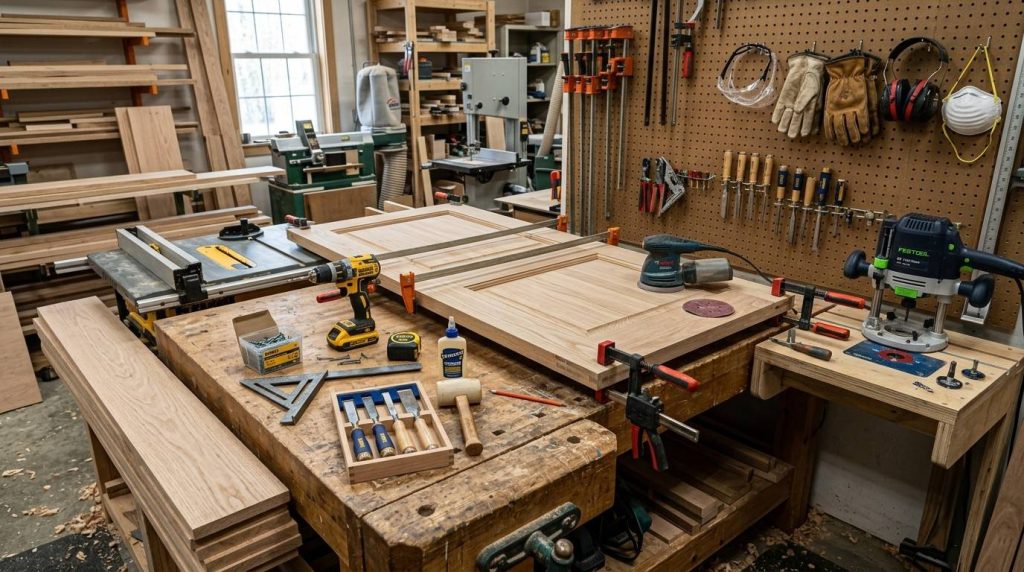
Making an exterior door requires more than a hammer and nails. Here’s what you’ll need:
Essential Tools:
- Table saw (for ripping boards)
- Miter saw (for crosscuts)
- Router (for panel grooves and decorative profiles)
- Drill and bits
- Chisels
- Clamps (lots!)
- Tape measure and square
- Sander (orbital or belt)
- Paintbrushes or sprayer
Materials:
- Solid hardwood (like mahogany, white oak, or maple) for rails and stiles
- Exterior-grade plywood (for panels, if not using solid wood)
- Waterproof wood glue
- Wood screws
- Weatherstripping
- Exterior primer and paint or marine-grade varnish
- High-quality hinges
- Lockset and deadbolt
If you plan to add glass, you’ll need tempered glass, glazing compound, and stops.
Safety Essentials:
- Eye and ear protection
- Dust mask
- Work gloves
Pro Tip: Always buy 10-15% extra lumber. Warping or defects can appear after cutting.
Choosing The Right Wood
Not all wood is created equal for exterior doors. Here’s a comparison of common choices:
| Wood Type | Weather Resistance | Durability | Cost | Appearance |
|---|---|---|---|---|
| Mahogany | Excellent | High | $$$ | Rich, deep color |
| White Oak | Very Good | High | $$ | Attractive grain |
| Maple | Good (if sealed) | Medium | $$ | Smooth, light |
| Pine | Poor | Low | $ | Knotty, soft |
Mahogany and white oak are favorites for exterior doors because they resist moisture and insects. Avoid softwoods like pine unless you’re on a tight budget and can commit to regular maintenance.
Common Mistake: Using indoor-grade wood or plywood. This can lead to warping, rotting, and costly repairs.
Measuring And Planning
Before you cut a single board, measure the door opening carefully. Exterior doors usually come in standard widths (30″, 32″, 36″), but old homes may have unique sizes.
- Measure width and height of the rough opening at three points each (top, middle, bottom for width; left, center, right for height).
- Check for square: Measure the diagonals—if they’re not equal, the opening isn’t square.
- Determine thickness: Most exterior doors are 1-3/4″ thick.
- Allow clearance: Subtract 1/8″ from height and width for fitting and weatherstripping.
Pro Tip: Draw a full-size template on plywood or cardboard. Lay out all joints and panels before cutting real wood.
Designing Your Door
The classic exterior door design is the stile-and-rail construction. This means you have vertical side pieces (stiles), horizontal pieces (rails), and panels or glass in the middle.
Popular Designs
- Solid panel: Simple, secure, best for privacy and insulation.
- Half glass: Top half is glass, bottom is wood—adds light while keeping privacy below.
- Full glass: Modern, maximizes light, but needs double- or triple-pane for insulation.
- 3- or 6-panel: Traditional, with rectangular panels.
Panel Construction
Panels can be solid wood or exterior-grade plywood. For added style, you can add raised molding.
Pro Insight: Avoid wide solid panels; they move with humidity. Narrow panels or plywood inserts resist warping better.
Glass Inserts
If you add glass, always use tempered or laminated glass for safety and code compliance. Double-pane glass adds insulation.
Cutting And Preparing Lumber
Once your design is finalized, it’s time to cut rails, stiles, and panels. Precision is key.
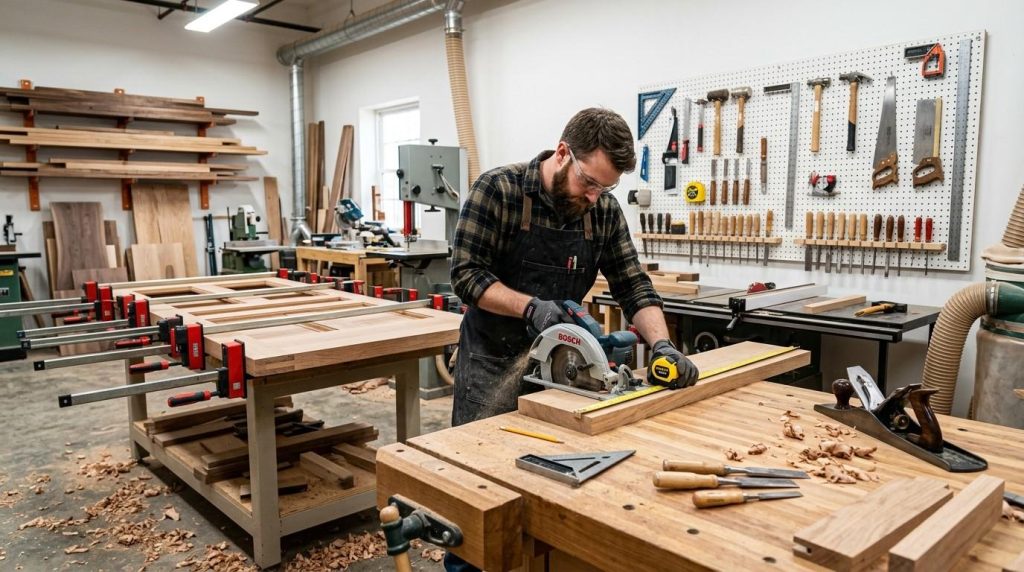
- Rip and crosscut: Cut stiles and rails to exact width and length.
- Dry fit: Lay out pieces on a flat surface and check for square.
- Cut panel grooves: Use a router to cut grooves along the inside edges of stiles and rails for panel or glass inserts.
- Mortise and tenon joints: For strong doors, cut mortises (holes) in stiles and matching tenons (tabs) on rails. These interlock and are much stronger than simple butt joints.
Common Mistake: Rushing the joint cutting. Loose joints make doors weak; too tight, and wood may split.
Case Study: I once helped a neighbor who used only dowels and glue for his door joints. After the first rainy season, his door sagged and wouldn’t close. We rebuilt it using mortise and tenon joints, and the new door is still square after 8 years.
Assembly: Putting It All Together
Now, you’re ready to assemble.
- Dry fit again: Put all pieces together without glue to check fit.
- Glue and clamp: Apply waterproof wood glue to all joints. Assemble and clamp tightly—check for square with a framing square.
- Insert panels: Panels should float—not be glued—so they can expand and contract. Secure with small brads or wood buttons.
- Add dowels or pegs: For extra strength, drill through the joints and tap in hardwood dowels.
Leave the door clamped for at least 8 hours. Overnight is best.
Pro Tip: Wipe away glue squeeze-out with a damp cloth before it dries—it’s hard to remove later.
Sanding And Prepping For Finish
A smooth, sealed surface is vital for weather resistance.
- Sand all surfaces: Start with 100-grit, then 150, and finish with 220-grit sandpaper.
- Round edges: Slightly round all edges with sandpaper or a router. Sharp corners chip easily and absorb water.
- Fill holes: Use exterior wood filler for any nail or screw holes.
- Remove dust: Use a tack cloth to remove all sanding dust before finishing.
Common Mistake: Skipping the fine sanding. Even if you paint, rough spots will show through.
Finishing: Paint Or Varnish?
Your finish protects the wood from sun, rain, and humidity. You have two main options:
Paint
- Best for: Maximum weather protection, color matching, hiding wood grain
- Primer: Use a high-quality exterior primer
- Topcoats: Two or more coats of exterior paint
Varnish Or Stain
- Best for: Showing off beautiful wood grain
- Products: Use marine-grade spar varnish or an exterior wood stain with UV blockers
- Coats: At least three coats, sanding lightly between each
Pro Tip: Always finish the top and bottom edges. These are the most vulnerable spots for moisture intrusion.
Weatherproofing
A door is only as good as its weatherproofing.
- Seal all edges: Even if they’re not visible, finish the top and bottom.
- Install weatherstripping: Use high-quality foam or rubber around the frame.
- Add a door sweep: This blocks drafts and pests at the bottom.
- Caulk gaps: Use exterior-grade caulk at all joints, especially around glass.
Table: Common Weatherproofing Materials
| Material | Use | Pros | Cons |
|---|---|---|---|
| Foam Tape | Frame perimeter | Easy, cheap | Wears over time |
| Rubber Gasket | Frame perimeter | Durable, seals well | More expensive |
| Door Sweep | Bottom edge | Blocks drafts/pests | May drag on floor |
| Silicone Caulk | Panel/glass joints | Flexible, waterproof | Needs careful application |
Pro Insight: Most leaks happen at the bottom of the door or around glass inserts. Pay extra attention to these areas.
Hardware Installation
Quality hardware is essential for security and smooth operation.
Hinges
- Use at least three heavy-duty exterior hinges for a standard door.
- Mortise (recess) the hinges into the edge of the door and the jamb for a flush fit.
- Space the top hinge 7″ from the top, the bottom hinge 11″ from the bottom, and the third hinge in the middle.
Lockset And Deadbolt
- Drill holes for the lockset and deadbolt to manufacturer’s specs.
- Reinforce the area around the lock with a metal plate if security is a concern.
- Test the lock and latch alignment before installing permanently.
Common Mistake: Misaligned lockset holes. Always measure twice and drill once.
Hanging The Door
This is the moment of truth.
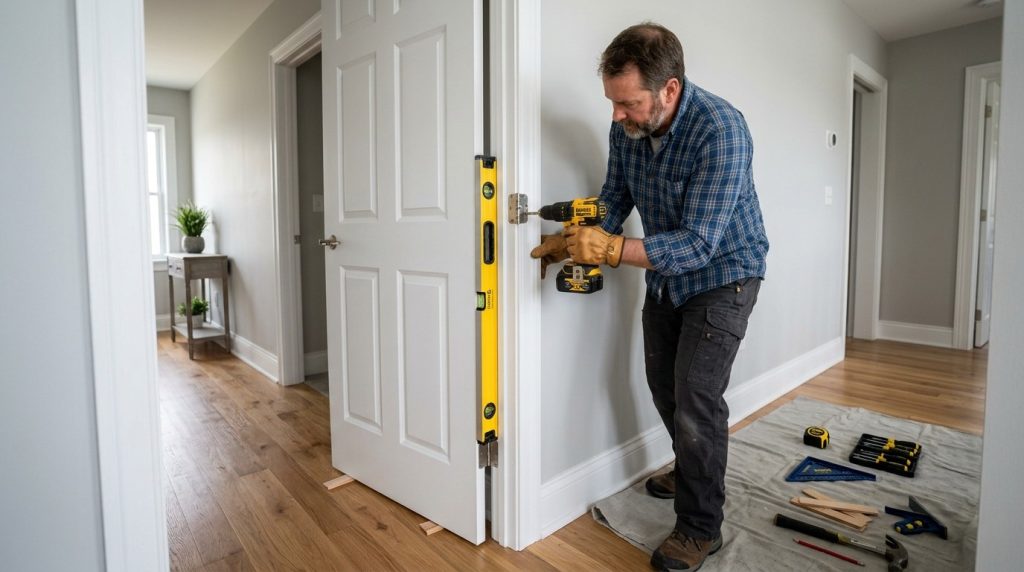
- Set the door in the opening: Use shims to get even gaps on all sides (about 1/8″).
- Attach hinges: Screw the hinges to the jamb first, then to the door.
- Test swing: The door should open and close smoothly without rubbing.
- Install weatherstripping: Close the door and check for tight seals.
If the door rubs or won’t close, check for high spots and sand lightly. Small adjustments here make a big difference.
Pro Tip: Prime and paint the door edges again after hanging to cover any scratches from installation.
Maintenance Tips
Your custom door will last for decades with proper care:
- Check finish yearly: Touch up paint or varnish as needed.
- Inspect weatherstripping: Replace if cracked or compressed.
- Lubricate hinges: A drop of oil keeps them quiet and smooth.
- Clean glass inserts: Use non-ammonia glass cleaner to avoid damaging seals.
Neglect is the biggest enemy of exterior wood doors. A half-hour of maintenance each year can prevent costly repairs.
When To Call A Professional
While building your own exterior door is rewarding, there are times to bring in a pro:
- Structural issues: If your door frame is rotted, out of square, or sagging, hire a carpenter.
- Complex designs: If you want intricate glasswork or carvings, a door shop has the tools.
- Security upgrades: For high-security locks or smart entry systems, a locksmith ensures everything is installed correctly.
- Building codes: Some areas require permits or inspections for exterior doors. Check your local codes or consult a contractor.
Trying to handle advanced tasks without experience can lead to expensive mistakes. Don’t be afraid to ask for help.
Case Study: A Custom Craftsman Door
A few years ago, I helped a friend restore his 1920s Craftsman bungalow. The original front door was missing, and off-the-shelf models didn’t match. We decided to build a new door from quartersawn white oak.
We followed the steps above: careful measuring, mortise and tenon joinery, a classic three-panel design, and a stained-glass insert. We used marine varnish for maximum protection. The biggest challenge was making the panels fit tightly but still allow for wood movement.
The result? A stunning, period-appropriate door that increased curb appeal and home value. The project cost about $700 in materials—less than half the price of a custom shop. Four years later, the finish is still perfect, and the door swings effortlessly.
Lesson: With patience and the right materials, you can match or beat professional quality.
Frequently Asked Questions
How Long Does It Take To Build An Exterior Door?
For most DIYers, expect 2–3 weekends. Cutting and assembling may take a full weekend, with another for finishing and installation. If you’re adding glass or complex panels, add more time.
What’s The Best Wood For An Exterior Door?
Mahogany and white oak are top choices for weather resistance and durability. Avoid softwoods like pine, which can warp and rot unless maintained yearly.
Can I Use Plywood For An Exterior Door?
You can use exterior-grade plywood for panels, but rails and stiles should always be solid hardwood. Never use interior plywood—it won’t last.
How Do I Prevent My Door From Warping?
Seal all edges (especially top and bottom), use stable hardwood, and let panels float within the frame. Avoid wide, solid panels that can expand and contract with humidity.
Where Can I Find More Information About Building Codes And Exterior Door Standards?
Check your local building department’s website or visit the ENERGY STAR Doors page for guidance on codes, insulation, and efficiency ratings.
Building your own exterior door is a challenging but deeply rewarding project. With careful planning, the right materials, and attention to detail, you’ll create a door that’s uniquely yours—one that stands up to weather, boosts security, and welcomes you home every day.