Your Trusted Source for Home Fixes & Guides

How to Remove Black Mold from Shower: Expert Tips and Tricks

How to Remove Black Mold from Shower is an important skill for maintaining a clean and healthy bathroom. If you’re wondering how to remove black mold from shower surfaces, acting quickly with safe cleaning methods can help eliminate mold from tile, grout, caulk, and other damp areas before it spreads. This guide covers effective removal techniques, prevention tips, and ways to keep your shower mold-free for the long term.
Many homeowners ignore the first signs, hoping it will go away. But mold grows fast in damp places like showers, so learning how to remove black mold—and prevent it—is essential.

This guide walks you through safe, effective ways to clean black mold in your shower. You’ll learn what causes mold, how to spot it early, which cleaning methods really work, and when you should call a professional. I’ll share practical advice from my years remodeling bathrooms and tackling mold myself.
Whether you’re dealing with stubborn mold in grout, caulk, or tile, you’ll find clear steps to restore your shower and keep your family safe.
Understanding Black Mold In Showers
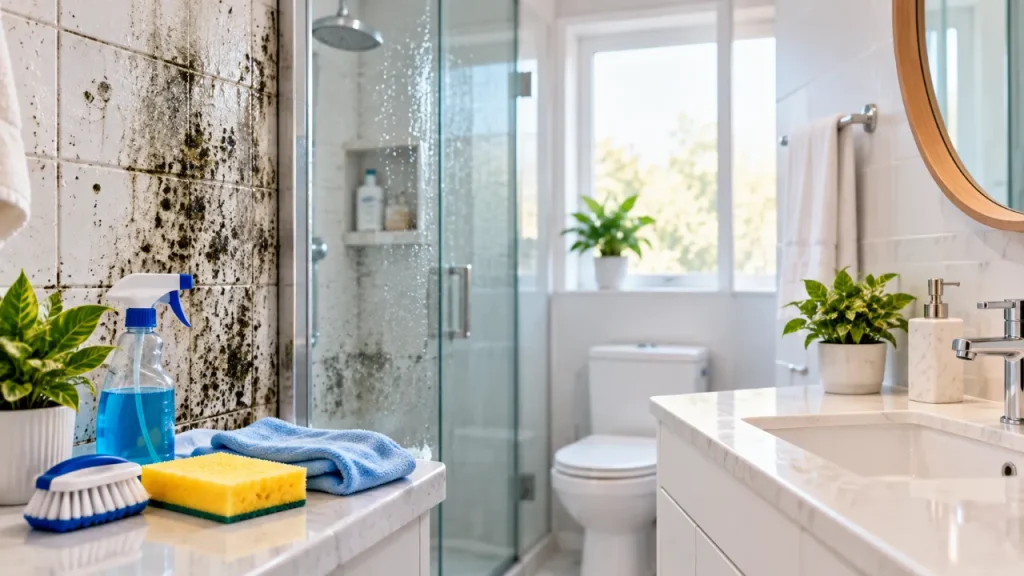
Black mold, often Stachybotrys chartarum, is a fungus that loves moisture. Showers are perfect breeding grounds because they stay wet and warm. You’ll usually see black mold as dark, slimy patches in grout lines, corners, or on caulk. It can also appear on ceilings, shower doors, and even under soap dishes.
Black mold doesn’t always look the same. Sometimes it appears as tiny pinprick dots at first, slowly spreading into larger streaks or blobs. In some cases, the mold may look dark green or even slightly blueish, depending on the species and the humidity level.
It thrives in places where water sits for a long time, such as the bottom corners of a shower or around a leaky faucet.
Why Mold Grows In Showers
Mold needs four things: moisture, warmth, organic material, and poor ventilation. Showers provide all these. Soap scum, body oils, and even dust give mold food. If your bathroom doesn’t dry out after each shower, mold spores settle and multiply. Homes with water leaks, old grout, or missing caulk are more at risk.
Even the way you clean can affect mold growth. For example, using body washes or shampoos that leave a film can actually feed mold spores. Older bathrooms, especially those with cracked tiles or worn-out grout, are much more vulnerable. If you notice condensation on your bathroom mirror long after a shower, that’s a sign your ventilation isn’t strong enough and the space stays humid—perfect for mold.
Some homeowners believe that using hot water will kill mold. In reality, hot showers create more steam, which increases humidity and speeds up mold growth. The real key is removing excess moisture, not just cleaning with hot water.
Health Risks And Property Damage
Black mold isn’t just a cosmetic problem. It releases mycotoxins that can cause coughing, sneezing, headaches, skin irritation, and worse for those with asthma or allergies. Children, seniors, and anyone with weak immune systems are especially vulnerable. Mold can also damage drywall, wood, and grout, leading to expensive repairs. If you notice a musty smell or see mold spreading, it’s time to act.
Breathing in mold spores may trigger allergic reactions, even in people who normally don’t have allergies. If you or your family members notice an increase in sneezing, coughing, or itchy eyes when using the bathroom, mold could be the reason.
Over time, mold can weaken the structure of your shower walls and ceiling, leading to soft spots, peeling paint, or even crumbling drywall. These repairs can cost hundreds or thousands of dollars if left untreated.
A less obvious risk is that black mold can lower your home’s value. Home inspectors look for signs of moisture and mold. If they find a mold problem, it may affect the sale price or even make your house harder to sell.
Signs Of Black Mold In Your Shower
Spotting mold early makes cleaning easier. Watch for these signs:
- Black or dark green spots along grout, caulk, or tile edges
- Musty odor that lingers after cleaning
- Slimy or fuzzy texture on surfaces
- Discoloration in corners or on ceiling above shower
- Peeling paint or cracked caulk
- Persistent moisture even after wiping down
Sometimes, mold hides behind tiles or inside walls. If you see mold reappearing after cleaning, it may be deeper than you think.
Another early warning sign is condensation that never seems to go away, especially around window frames or on the ceiling above the shower. If the paint starts bubbling or you notice small, repeated leaks, these are often clues that water is getting where it shouldn’t—and mold may soon follow.
A less obvious symptom is the appearance of small, black “pepper-like” dots on caulk or grout. These can be easy to miss, especially in low light. If you find that your usual bathroom cleaners don’t remove the stains, or they return within a few days, you’re likely dealing with mold rather than dirt.
Safety Precautions Before Removing Mold
Cleaning black mold isn’t like scrubbing soap scum. Mold spores can become airborne and cause health issues. Always protect yourself:
- Wear N95 masks or respirators
- Use rubber gloves and eye protection
- Open windows or run the bathroom exhaust fan
- Keep pets and children out of the area
- Avoid mixing cleaning chemicals (never combine bleach and ammonia)
- Wear old clothes you can wash immediately
If the mold covers more than 10 square feet, or if you suspect it’s inside walls, call a licensed mold remediation professional. Large infestations need expert care.
One thing many people miss: after you’re done cleaning, wash your clothes immediately on a hot cycle. Mold spores can stick to fabrics and spread to other parts of your home if you sit on furniture or touch other surfaces before changing. Also, clean any tools like brushes or spray bottles you used, or throw them away if possible.
Tools And Materials You’ll Need
Gather everything before you start. You’ll need:
- N95 mask or respirator
- Rubber gloves
- Safety goggles
- Scrub brush (nylon bristles)
- Old toothbrush for tight areas
- Bucket
- Spray bottle
- Microfiber cloths
- Bleach or hydrogen peroxide
- White vinegar
- Baking soda
- Commercial mold remover (optional)
- Plastic sheeting to protect floors
- Fan or dehumidifier
Choose cleaning products based on your mold’s severity and your surface materials.
If you have sensitive skin, consider using long-sleeved shirts and pants, as cleaning solutions can splash. Some people also use painter’s tape to seal off the bottom of the bathroom door, which helps keep mold spores from drifting into other rooms.
For larger jobs, a HEPA vacuum can help remove loose spores before and after cleaning. If you’re doing a deep clean, consider having a second bucket of clean water for rinsing your tools.
Step-by-step Guide: Removing Black Mold From Shower
Step 1: Prepare The Area
Clear out shampoos, soap, and personal items. Lay down plastic sheeting to protect the bathroom floor. Open a window or turn on the exhaust fan. Put on your mask, gloves, and goggles.
If your shower has a curtain, remove it and wash it separately in hot water with a little bleach. Don’t forget to remove bath mats, loofahs, or anything else that might have come into contact with mold.
Step 2: Assess The Mold
Check if the mold is only on the surface or if it goes deeper. Mold in grout or caulk may need extra work. If mold is behind tiles or drywall, professional help is best.
Tap lightly on tiles and listen for a hollow sound—this can mean water and mold are behind the wall. Look for soft spots in the ceiling or walls near the shower. If you find any, don’t try to clean these yourself; call an expert.
Step 3: Choose Your Cleaning Solution
Different mold situations call for different cleaners. Here’s a quick comparison:
| Cleaning Solution | Effectiveness | Safe For | Notes |
|---|---|---|---|
| Bleach | High | Tile, grout, caulk | Strong fumes, avoid mixing |
| Hydrogen Peroxide | Moderate | Tile, grout, caulk | Safer, less odor |
| White Vinegar | Moderate | Tile, grout, caulk | Natural, may need repeat |
| Baking Soda | Low | Tile, grout | Good for scrubbing |
| Commercial Mold Remover | Varies | Tile, grout, caulk | Follow label instructions |
Bleach is best for tough mold, but hydrogen peroxide and vinegar are safer for frequent cleaning.
Remember that some natural stone tiles (like marble or granite) can be damaged by acid-based cleaners like vinegar. Always test in a small, hidden spot first.
Step 4: Apply The Cleaner
Mix your chosen solution in a spray bottle:
- Bleach: 1 cup bleach to 1 gallon water
- Hydrogen Peroxide: Use 3% solution, undiluted
- White Vinegar: Use full strength
- Baking Soda: Mix with water to form a paste
Spray generously on moldy areas. Let it sit for 10–15 minutes. This gives the cleaner time to kill spores.
For vertical surfaces, start at the top and work your way down. This way, any cleaner that drips helps treat lower areas. If you’re using a paste (like baking soda), spread it thickly over the mold and let it dry for better results.
Step 5: Scrub Mold Away
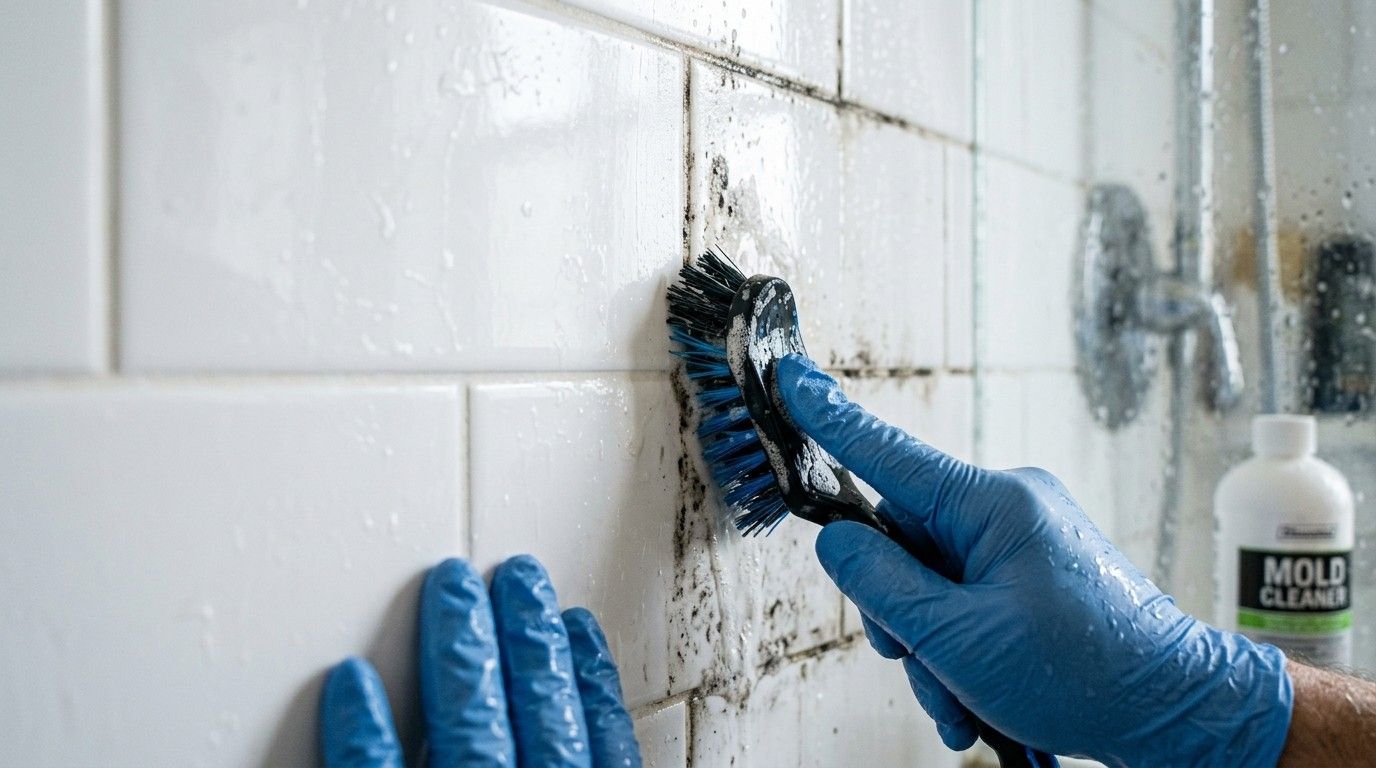
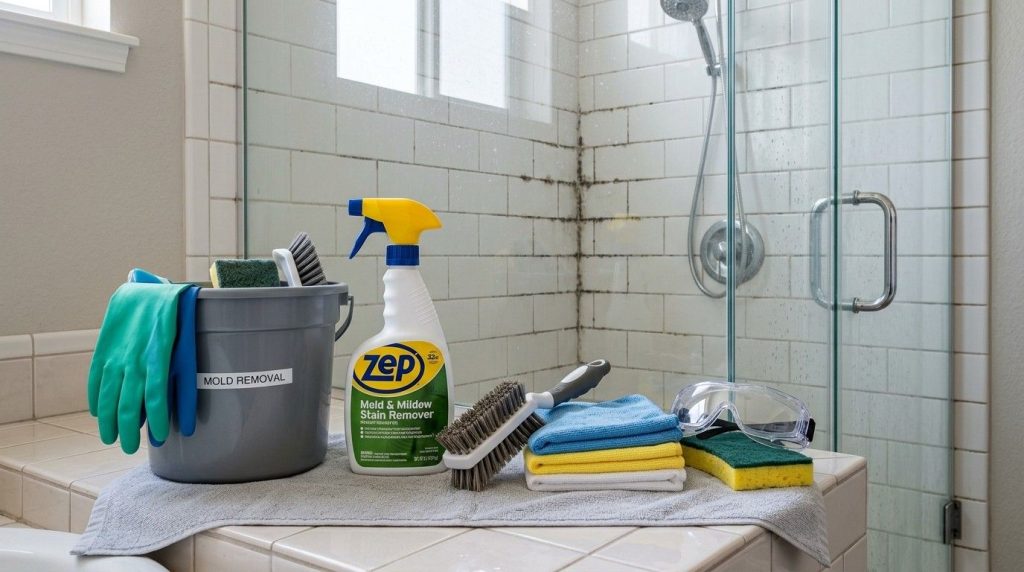
Use a scrub brush or toothbrush to loosen mold. Focus on grout lines, corners, and caulk. Scrub in small circles. If mold remains, reapply cleaner and let it sit longer. Don’t rush—removing all spores is key.
For stubborn areas, try using a plastic scraper or an old credit card to gently remove the outer layer of mold on caulk before scrubbing. Be careful not to gouge the surface.
Step 6: Rinse And Dry
Rinse surfaces with warm water. Use a microfiber cloth to wipe away residue. Dry the area completely. Mold can return if moisture remains. Run a fan or dehumidifier for an hour.
A tip many miss: after drying, leave the shower door or curtain open for several hours. This increases air flow and speeds up drying. If you have a squeegee, use it to remove water from walls and glass doors after every shower.
Step 7: Repeat If Needed
Stubborn mold may need two or three treatments. Don’t give up if you see faint stains after one cleaning. Persistent mold may signal deeper issues—leaks or poor ventilation.
If you’re dealing with colored grout, repeated cleaning can sometimes lighten it. Make sure to reseal the grout once you’re done to protect against moisture.
Step 8: Replace Damaged Materials
If grout, caulk, or tiles are cracked or stained, replace them. Mold often hides in damaged materials. Cut out old caulk with a utility knife and reapply new. Regrout tiles if needed. This prevents mold from coming back.
Replacing materials might sound like a big job, but it’s often the only way to get rid of mold for good. If you’re unsure how to do this, there are many online tutorials, or you can hire a handyman for small repairs.
Case Study: Mold Removal In A Family Home
A homeowner in Ohio noticed black streaks along shower grout and caulk. The bathroom had poor ventilation and was used by three people daily. Mold kept returning after cleaning with store-bought sprays.
After testing with bleach and scrubbing, the mold faded but didn’t disappear. The homeowner removed damaged caulk, replaced it, and installed a stronger exhaust fan. They wiped the shower dry after each use and used vinegar weekly. Mold stopped returning.
This case shows that fixing ventilation and replacing damaged materials are as important as cleaning.
One detail that helped: the family switched from heavy shower curtains to a glass door, which dried faster and allowed more air flow. They also set a reminder to check for leaks every few months—a simple routine that stopped mold before it started.
Comparing Diy Vs. Professional Mold Removal
Homeowners often wonder if they should tackle mold themselves or hire a pro. Here’s a quick comparison:
| Option | Cost | Effectiveness | Best For | Risks |
|---|---|---|---|---|
| DIY Removal | $10–$50 | Good for small areas | Surface mold, minor infestations | Missed hidden mold, health risks |
| Professional Removal | $500–$2000+ | Excellent | Large areas, hidden mold, health concerns | Higher cost |
If mold covers less than 10 square feet and is only on the surface, DIY is usually safe. If you see mold spreading, smell a strong musty odor, or find damage behind tiles, hire a licensed mold remediation expert.
A hidden cost of DIY is the time and effort. Many people start out to save money but end up spending more when they need to re-clean or replace damaged parts later. Professionals have equipment that can spot hidden moisture and remove mold you can’t see.
Common Mistakes When Removing Black Mold
Many homeowners make these mistakes:
- Using only water—Water alone doesn’t kill mold.
- Not letting cleaners sit—Cleaners need time to kill spores.
- Ignoring safety gear—Mold spores can cause health problems.
- Missing hidden mold—Mold often hides in caulk, grout, or behind tiles.
- Not fixing leaks or ventilation—Mold returns if moisture isn’t controlled.
- Overusing bleach—Too much bleach can damage grout and caulk.
Avoid these mistakes to ensure your cleaning lasts.
Some people also make the mistake of painting over moldy areas. Paint will not stop mold from growing and can actually trap moisture, making the problem worse. Always remove mold first and make sure surfaces are dry before painting or sealing.
How To Prevent Black Mold In Showers
Once you’ve cleaned the mold, keep your shower dry and clean to prevent it from returning. Here’s what works:
- Use an exhaust fan during and after showers
- Wipe down tiles and glass after each use
- Fix leaks in plumbing or shower walls
- Seal grout and caulk every year
- Clean with vinegar weekly
- Keep shower doors open to let air circulate
Many homeowners don’t realize that mold can start growing in just 48 hours if surfaces stay wet. Prevention is easier than repeated cleaning.
A simple trick: use a shower squeegee after every use. It only takes 30 seconds and removes most water from walls and doors. Another tip is to use a small, portable dehumidifier in the bathroom during humid months. These devices can make a big difference, especially in older homes.
Don’t forget about hidden spots. Clean under shampoo bottles, soap dishes, and along the shower door track—these are common places for mold to start.
Choosing The Right Cleaning Products
There are dozens of mold removers on the market. Some are harsh, others are eco-friendly. Here’s a comparison of popular products:
| Product | Type | Strength | Safe For | Notes |
|---|---|---|---|---|
| Clorox Bleach | Chemical | High | Tile, grout | Strong fumes, rinse well |
| Concrobium Mold Control | Eco-friendly | Moderate | Tile, grout, caulk | No bleach, safe for pets |
| White Vinegar | Natural | Moderate | Tile, grout, caulk | May need repeated use |
| Hydrogen Peroxide | Natural | Moderate | Tile, grout, caulk | Low odor, gentle |
Always follow label instructions. For eco-friendly cleaning, vinegar and hydrogen peroxide are good choices. For tough infestations, bleach or a commercial product may be needed.
Some products also add a protective layer to slow future mold growth. If you have pets or young children, eco-friendly products are safer, but may require more frequent use. When in doubt, start with a mild solution and work up to stronger options as needed.
Practical Homeowner Advice
From my experience, homeowners who keep their shower dry and clean rarely see mold return. Install a timer on your exhaust fan so it runs for 30 minutes after every shower. Replace old caulk and grout before they crack. If you’re renovating, choose mold-resistant grout and caulk.
Use a squeegee to dry shower walls after each use.
Another insight: Don’t forget to check shower curtains, mats, and soap dishes. Mold often starts in hidden places. Wash or replace them regularly.
If you have children, teach them to leave the shower door open after use and to hang up wet towels outside the bathroom. Small changes in habit can make a big difference. You can also keep a spray bottle of vinegar in the bathroom for quick cleaning every few days.
When To Call A Professional
If you see mold covering a large area, smell strong musty odors, or notice water damage, call a pro. Mold inside walls, under tiles, or in ceilings needs expert care. Professionals use HEPA vacuums, strong cleaners, and sealants to fix the problem for good.
Sometimes, homeowners try to handle hidden mold themselves. This can make things worse—spreading spores throughout the house. It’s better to invest in professional help than risk health or property.
If you have health problems such as asthma, allergies, or weakened immunity, don’t risk cleaning black mold alone. Even a small amount can trigger symptoms if not removed properly.
Case Study: Professional Mold Removal Success
A family in Texas noticed black mold on their shower ceiling and behind tiles. They tried DIY cleaning, but the mold returned. A licensed mold remediation company removed affected drywall, cleaned all surfaces, installed new tiles, and sealed the shower.
The homeowners also upgraded their exhaust fan and fixed a hidden leak. No mold appeared for two years. This shows the importance of fixing water issues and getting expert help for large infestations.
The family also learned to check their attic and crawl space for mold, since leaks in the shower had affected other parts of the house. A full inspection after the professional clean-up revealed a small leak in the plumbing, which had been missed before.
Fixing these underlying issues was key to stopping the mold for good.

Frequently Asked Questions
What’s The Difference Between Black Mold And Regular Mold?
Black mold is often more dangerous because it produces mycotoxins. Regular mold may appear white, green, or brown and doesn’t always cause health issues. Black mold is usually slimy, dark, and grows in places that stay wet.
Can I Use Bleach To Kill Black Mold In My Shower?
Yes, bleach is effective for surface mold. Mix 1 cup bleach with 1 gallon water, spray, and let it sit for 10–15 minutes. Scrub and rinse. Don’t use bleach on porous materials or mix with other cleaners.
How Do I Know If Mold Is Behind Tiles Or Inside Walls?
If mold keeps coming back, you smell a strong musty odor, or see water damage (like peeling paint or soft walls), mold may be hidden. Large infestations or hidden mold require a licensed mold remediation professional.
Is It Safe To Clean Black Mold Myself?
It’s safe if the mold is less than 10 square feet and only on the surface. Wear protective gear, ventilate the area, and use proper cleaners. For large areas, hidden mold, or health concerns, call a pro.
How Can I Prevent Black Mold From Returning?
Keep your shower dry and well-ventilated. Use an exhaust fan, wipe down surfaces, fix leaks, and clean with vinegar weekly. Seal grout and caulk yearly. Prevention is easier than cleaning.
Removing black mold from your shower is more than just scrubbing—it’s about fixing moisture problems and keeping surfaces dry. If you catch mold early, you can clean it safely with bleach, vinegar, or hydrogen peroxide. Always use safety gear and ventilate your bathroom.
Replace damaged caulk or grout and install a good exhaust fan. For large infestations or hidden mold, don’t hesitate to call a professional.
Remember, mold isn’t just a cosmetic issue; it affects your health and your home. With the right steps, you can restore your shower, protect your family, and prevent mold from coming back. For more detailed information on mold remediation and bathroom safety, visit EPA Mold Resources. Your bathroom deserves the best care—don’t let mold win.