Your Trusted Source for Home Fixes & Guides

Bathtub Faucet Drips How to Fix: Easy Step-by-Step Guide

Bathtub Faucet Drips How to Fix is a common DIY plumbing task that can help save water and prevent costly damage. If you’re searching for bathtub faucet drips how to fix, most leaks can be repaired by identifying the worn component, such as a washer, cartridge, or valve seat, and replacing it with the right part. This guide walks you through the causes of a dripping bathtub faucet, step-by-step repair methods, and tips to keep it from leaking again.
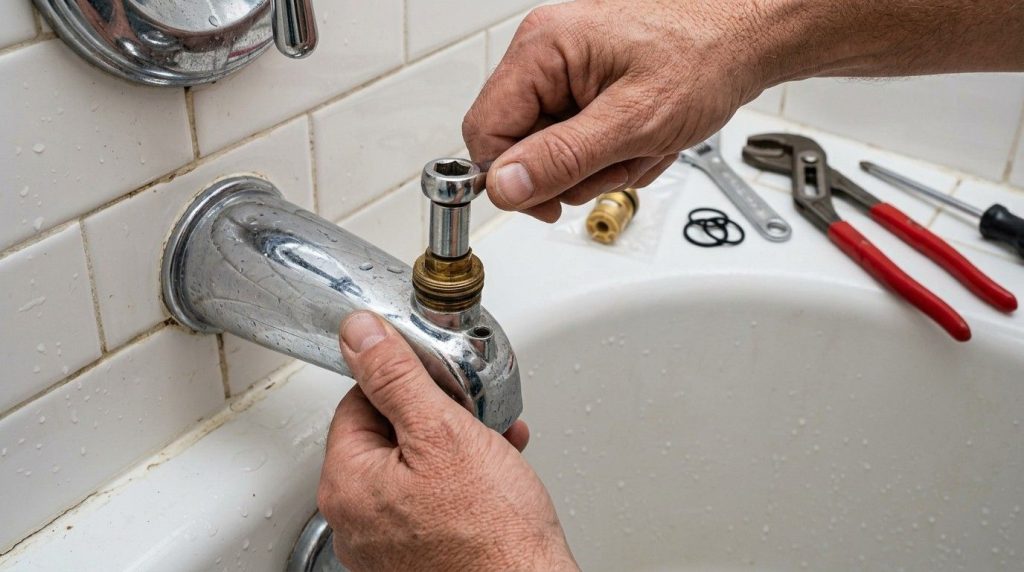
This article walks you step-by-step through identifying the cause, gathering the right tools, making the repair, and knowing when to call a professional. Drawing from years of hands-on experience in home improvement, I’ll share practical advice, real homeowner mistakes to avoid, safety tips, and even a case study from a recent repair.
Why Bathtub Faucets Drip
Bathtub faucets drip for a handful of common reasons. Understanding what’s happening inside your plumbing is the first step to a successful fix.
The most frequent cause is worn-out washers or seals inside the faucet. Every time you turn the faucet handle, rubber washers or seals press against metal, which eventually wears them down. When they no longer fit tightly, water seeps through even when the handle is off.
Another typical cause is corroded valve seats. The valve seat connects the faucet to the spout. Over time, minerals in the water can corrode or pit this part, preventing a proper seal.
Loose or damaged parts—like handles, packing nuts, or O-rings—can also let water leak out. Finally, in homes with hard water, mineral deposits can build up around moving parts, making it hard for the faucet to shut off completely.
How Much Water Does A Drip Waste?
It surprises many people how much water a small leak can waste. According to the U.S. Environmental Protection Agency, a single dripping faucet can waste more than 3,000 gallons per year. That’s enough for about 180 showers. On your water bill, this could mean an extra $20–$50 a year, depending on local rates.
Types Of Bathtub Faucets
Before you start repairs, it’s crucial to know what kind of faucet you have. The repair steps can differ based on the mechanism.
Here’s a comparison of the most common types:
| Faucet Type | Main Feature | Typical Problem | Repair Complexity |
|---|---|---|---|
| Compression (Two-Handle) | Separate hot/cold handles | Worn washer/seat | Easy/Moderate |
| Cartridge (Single or Double Handle) | Moves up/down or in/out to control water | Worn cartridge/O-ring | Moderate |
| Ball | Single handle, ball inside faucet | Worn springs/seals | Moderate |
| Ceramic Disk | Single handle, ceramic disks inside | Worn seals | Moderate/Hard |
If you’re unsure, look at the handle(s). Two handles usually mean a compression faucet. One handle means you likely have a cartridge, ball, or ceramic disk faucet.
Tools And Materials Needed
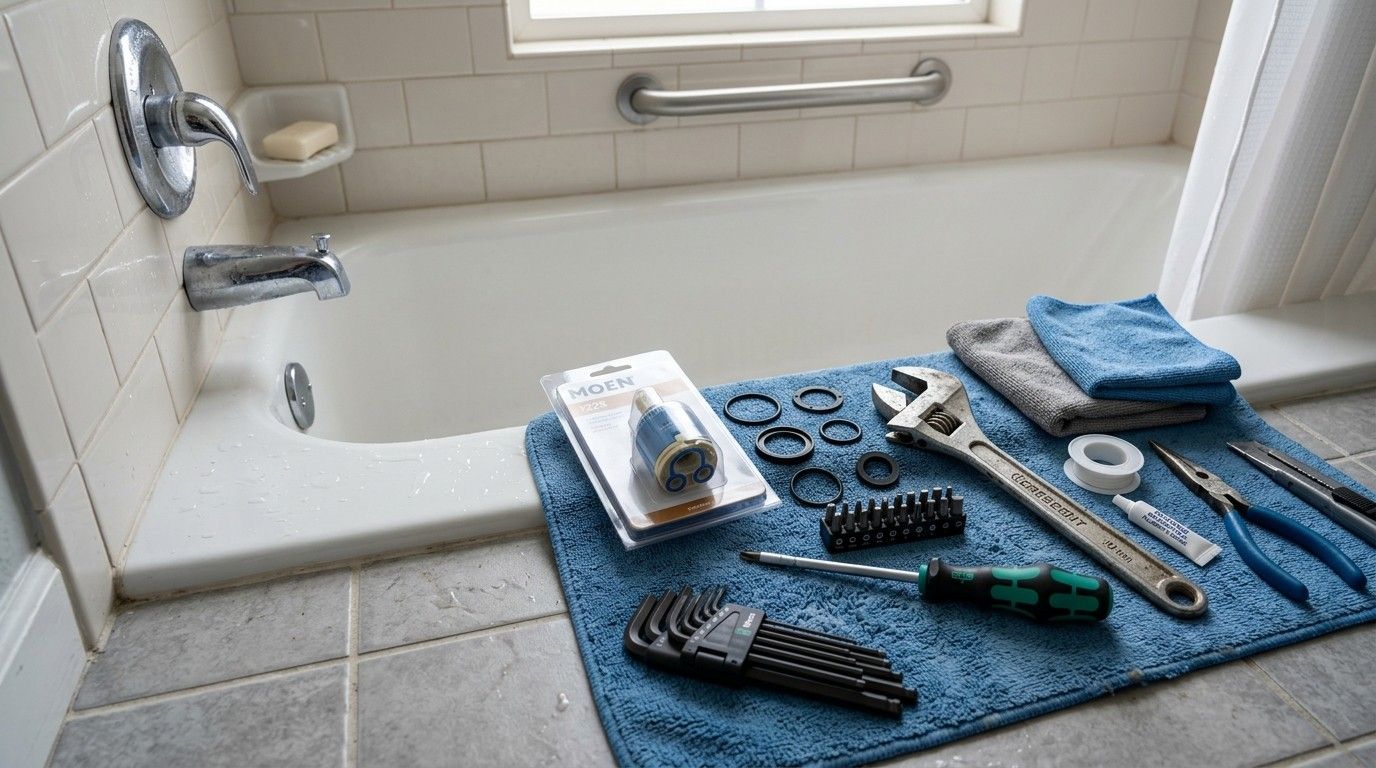
Having the right tools ready will make your repair go much smoother. Here’s what you’ll need for most bathtub faucet fixes:
- Screwdrivers (Phillips and flat-head)
- Adjustable wrench or channel-lock pliers
- Allen wrench set (for some handle types)
- Needle-nose pliers
- Plumber’s grease
- Replacement parts (washers, O-rings, cartridges as needed)
- Plumber’s tape (Teflon tape)
- White vinegar (for removing mineral deposits)
- Rags or towels
- Bucket or bowl (to catch drips)
If you know your faucet brand and model, buy genuine replacement parts. Generic parts sometimes fit poorly and won’t last as long. Most home centers stock common parts for Moen, Delta, Kohler, and other big brands.
Safety Precautions
Before you start, always put safety first:
- Turn off the water supply to your tub. Look for shut-off valves near the tub or, if needed, shut off the main water supply to your home.
- Plug the drain with a rag or stopper to avoid losing screws or small parts.
- Test the water to make sure it’s off by turning the faucet handles open.
- Work slowly and take photos as you go, especially if this is your first repair.
Some older homes have plumbing with sharp edges, or you might find corrosion. Always wear gloves and eye protection if you need to chip away mineral deposits.
Step-by-step: Fixing A Dripping Compression Bathtub Faucet
Compression faucets are the most common in older homes. Here’s how to fix a typical two-handle drip:
1. Remove The Faucet Handle
Pry off the decorative cap (usually marked “hot” or “cold”) with a flat-head screwdriver. Unscrew the handle screw underneath. Gently pull the handle off. If it’s stuck, wiggle it back and forth or use a handle puller.
2. Take Off The Escutcheon And Stem
Unscrew the trim plate (escutcheon) behind the handle. You may need to cut away old caulk. Use an adjustable wrench to loosen the packing nut. Carefully slide out the faucet stem.
3. Inspect And Replace The Washer
At the end of the stem, you’ll see a rubber washer held by a screw. If the washer is hard, cracked, or misshapen, that’s your culprit. Remove the screw, swap in a new washer (exact size matters), and reattach.
Also, check the seat inside the faucet body. Run your finger around it. If it feels rough, use a seat wrench to remove and replace it, or polish it with a seat dresser.
4. Reassemble And Test
Coat the stem threads lightly with plumber’s grease. Reinstall the stem, packing nut, trim, and handle. Turn the water back on and check for drips.
Step-by-step: Fixing A Cartridge, Ball, Or Ceramic Disk Faucet
Single-handle faucets are popular in modern homes. The process is similar but uses different parts.
1. Remove The Handle
Most single-handle faucets have a small set screw under or behind the handle. Loosen it with an Allen wrench. Lift off the handle.
2. Access The Cartridge Or Ball
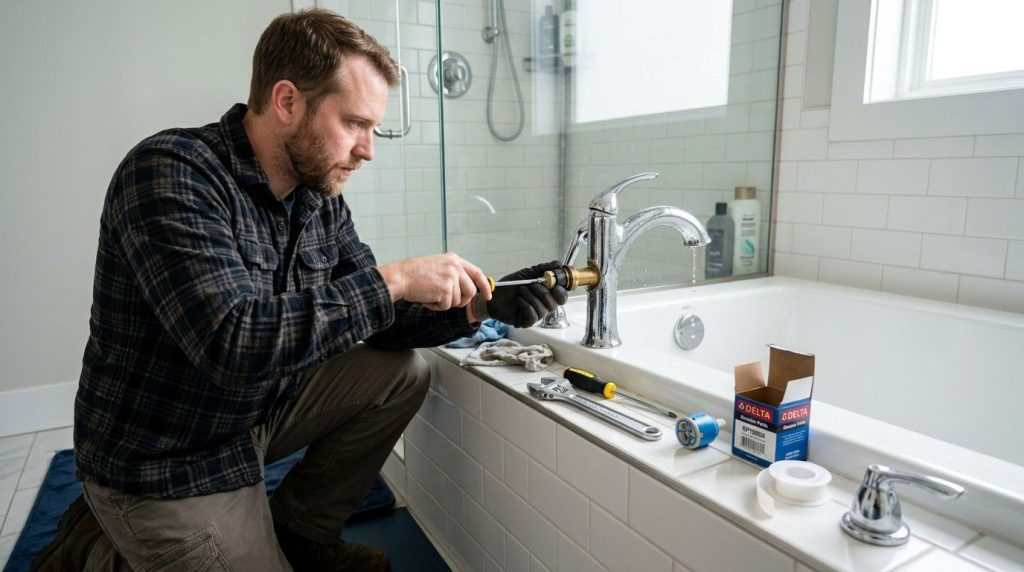
Remove any retaining nuts or clips. For cartridge faucets, pull the cartridge straight out with pliers. For ball faucets, lift out the ball and cam assembly. For ceramic disk, remove the disk cylinder.
3. Replace Worn Parts
Swap out worn cartridges, O-rings, springs, or seals. For hard water deposits, soak parts in white vinegar to clean them. Lubricate O-rings and seals with plumber’s grease before reassembly.
4. Reassemble And Test
Put the faucet back together in reverse order. Turn the water on and check for leaks.
Common Mistakes Homeowners Make
Many do-it-yourselfers run into trouble because of small errors. Learning from these can save you time and frustration.
- Not turning off the water: Even a slow drip can become a flood if you accidentally loosen the wrong part.
- Using the wrong replacement parts: Faucets are designed with specific washers, cartridges, and screws. Generic parts may not fit, causing leaks to continue.
- Forgetting plumber’s grease: Dry parts stick, wear out faster, or don’t seal tightly.
- Over-tightening screws: This can crack parts, especially plastic handles or trim.
- Losing small parts: Always work over a towel or tray and plug the drain.
- Skipping cleaning: Mineral deposits left behind can keep the faucet from sealing.
- Not checking both hot and cold sides: Sometimes both sides are leaking, or the cause is deeper in the valve.
Case Study: Stopping A Persistent Drip In A 1970s Ranch Home
Last year, a homeowner called me about a bathtub faucet that wouldn’t stop dripping. It was a two-handle compression faucet in a 1970s ranch. The owner had replaced the washers twice, but the leak returned each time.
Upon inspection, I found the valve seat was deeply pitted due to years of hard water. New washers helped for a while, but the uneven seat wore them out quickly. We replaced the valve seat using a seat wrench (about a $10 tool) and installed new washers. The drip stopped immediately.
Lesson: If new washers don’t solve the problem, always inspect the valve seat. It’s a step many homeowners miss, but it’s critical for a lasting repair.
When To Call A Professional Plumber
Most bathtub faucet drips are fixable by a handy homeowner with basic tools. But there are times when you should bring in a licensed plumber:
- You can’t shut off the water: Some older homes don’t have local shut-offs. You may need a pro to add valves or freeze the line.
- The faucet or piping is corroded or stuck: Forcing old parts can break pipes inside the wall.
- Drip continues after repair: This suggests a deeper issue, like a crack in the valve body or a problem in the plumbing behind the wall.
- You’re uncomfortable with the repair: It’s always better to ask for help than risk water damage.
Professional plumbers have specialized tools for stubborn repairs and can spot hidden problems that might cost more if left unfixed.
How To Prevent Future Faucet Leaks
Stopping a current leak is good, but preventing the next one saves time and money. Here are proven ways to keep your bathtub faucet in good shape:
- Turn handles gently. Don’t crank them tight. This strains washers and seats.
- Clean faucet aerators and spouts with vinegar every few months to dissolve mineral deposits.
- Check for drips monthly. Early leaks are easier and cheaper to fix.
- Replace washers or cartridges every 3–5 years as routine maintenance, especially if you have hard water.
- Install a water softener if mineral buildup is a constant issue.
These habits can extend the life of your faucet and reduce the risk of water damage.
Cost Comparison: Diy Vs. Hiring A Pro
Many homeowners wonder if fixing a leaking bathtub faucet is worth doing themselves. Here’s a quick cost comparison:
| Repair Option | Typical Cost | Includes | Time Required |
|---|---|---|---|
| DIY | $10–$40 | Washers/cartridges, basic tools | 30–90 minutes |
| Professional Plumber | $150–$350 | Parts, labor, inspection | 1–2 hours (plus scheduling) |
DIY is usually much cheaper, especially for simple washer or cartridge replacements. However, if you’re not comfortable with plumbing or the leak is severe, hiring a professional can prevent bigger issues.
Bathtub Faucet Brands And Replacement Part Tips
Not all faucets are created equal. Here’s a quick look at common brands and what makes finding parts easier or harder:
| Brand | Common Faucet Types | Parts Availability | Notes |
|---|---|---|---|
| Moen | Cartridge, single-handle | Excellent (most stores carry) | Cartridges are unique to Moen models |
| Delta | Ball, cartridge | Excellent | Many parts use color codes for hot/cold |
| Kohler | Cartridge, ceramic disk | Good | Some parts are special order |
| Pfister | Compression, cartridge | Good | Older models may need adapters |
| American Standard | Compression, cartridge | Good | Wide range of models; bring old part for match |
Tip: When buying replacement parts, take the old part with you to the store. Staff can help you match size and shape, which avoids wasted trips.
Signs Your Faucet Needs Full Replacement
Sometimes, repairing is only a temporary fix. Consider a full faucet replacement if:
- The faucet is over 20 years old and leaks keep returning.
- You see corrosion, cracks, or damage to the spout or handles.
- The finish is worn or peeling, and you want a cosmetic upgrade.
- The faucet is no longer compatible with available replacement parts.
A full replacement costs more but gives you years of drip-free operation and can modernize your bathroom’s look.
The Environmental Impact Of Dripping Faucets
Beyond water bills and damage, leaks have a real impact on the environment. The EPA reports that household leaks can waste nearly 1 trillion gallons of water nationwide each year. Fixing even small drips helps conserve resources and supports efforts to protect clean water supplies. For more on water conservation, check out the EPA WaterSense program.
Frequently Asked Questions
Why Does My Bathtub Faucet Drip Even After I Replaced The Washer?
If your faucet still drips after a washer change, the valve seat may be damaged or corroded. The washer can’t seal against a rough or pitted seat. Inspect and replace or resurface the seat as needed.
Can I Use Universal Replacement Parts For My Faucet?
While universal washers or cartridges fit some faucets, many brands use proprietary parts. Always try to match the exact brand and model, or bring your old part to the store for comparison.
Is It Dangerous To Ignore A Dripping Bathtub Faucet?
Over time, a persistent drip can cause water damage behind the wall, encourage mold growth, and waste hundreds of gallons of water. It’s not immediately dangerous, but it’s best to fix it promptly.
How Do I Know If I Need To Replace My Entire Faucet?
If repairs don’t stop the drip, or the faucet is old, corroded, or parts are impossible to find, it’s time for a full replacement. Frequent leaks, poor water flow, or visible damage are also warning signs.
What Should I Do If The Faucet Handle Is Stuck?
Mineral buildup can freeze handles in place. Soak the area with white vinegar and gently wiggle the handle. Avoid using too much force. If stuck, use a handle puller tool or call a plumber to avoid damaging the plumbing.
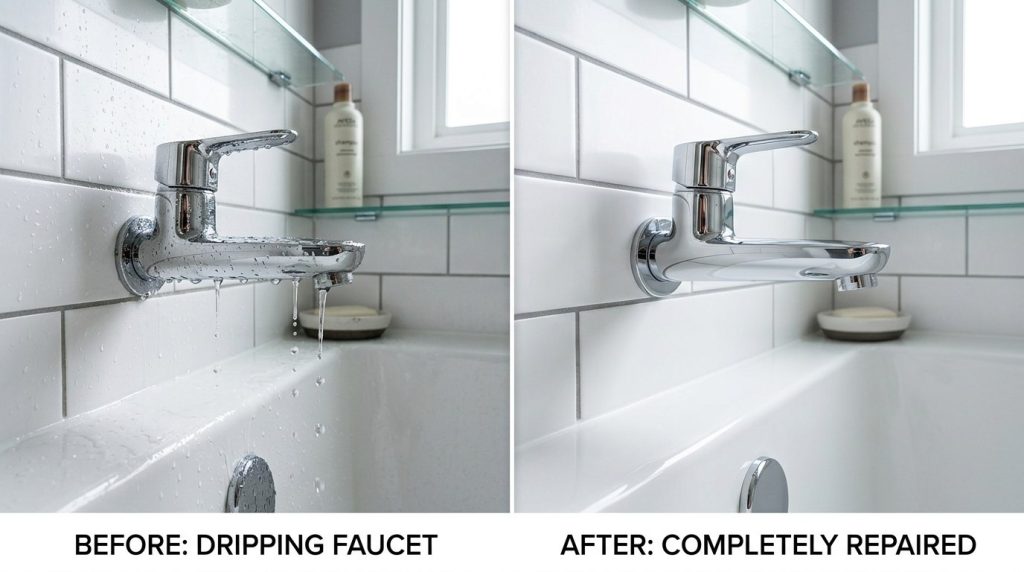
Fixing a dripping bathtub faucet is a manageable project for most homeowners, saving money and preventing bigger headaches down the road. With careful steps and a bit of patience, you’ll enjoy a quiet, leak-free bathroom once again.