Your Trusted Source for Home Fixes & Guides

How to Adjust a Door Closer for Smooth and Quiet Operation

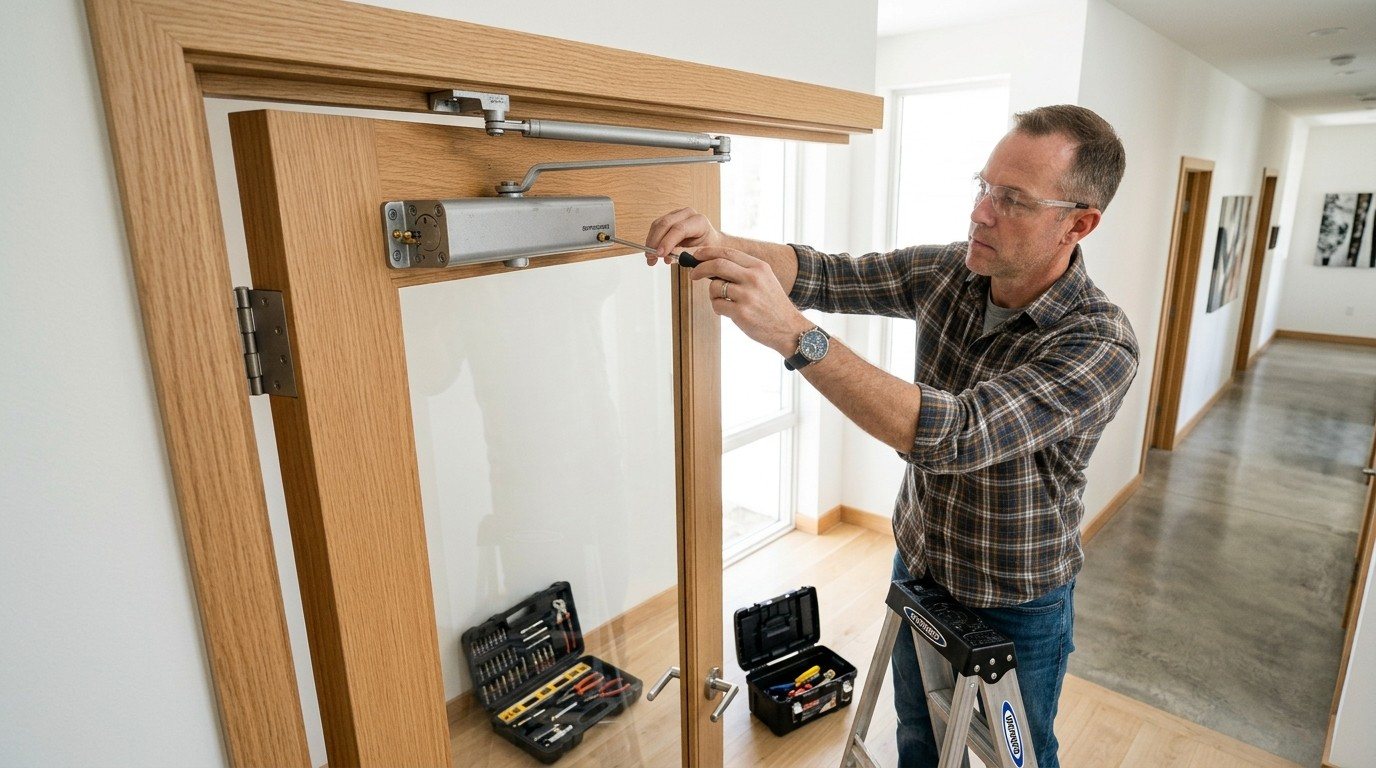
If your door slams shut, won’t close all the way, or seems hard to open, you’re not alone. Many homeowners run into these problems with door closers—the mechanical devices at the top of doors that control how they shut. How to Adjust a Door Closer is usually a straightforward process that can solve common closing-speed, latching, and opening issues. You don’t need special skills, but you do need patience, a screwdriver, and a careful approach. This guide walks you through the key adjustments to help your door close smoothly, safely, and reliably.
What Is A Door Closer And Why Does It Matter?
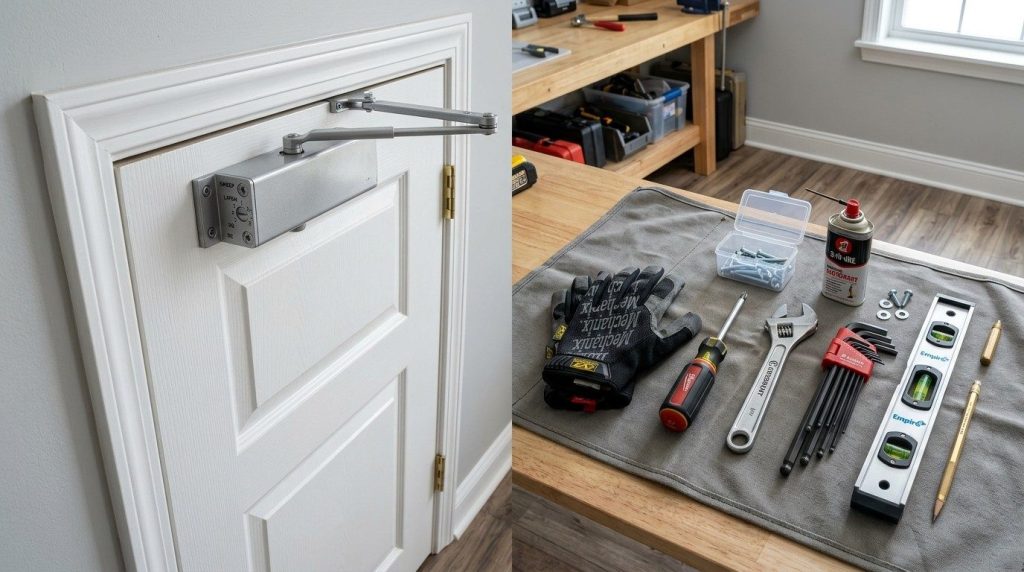
A door closer is a device that automatically closes a door after it’s opened. It’s common on commercial buildings, apartment entries, and even bathroom doors in many American homes. The closer not only keeps doors from slamming, but also helps with energy efficiency, privacy, and security.
Here’s why proper adjustment matters:
- Prevents doors from slamming and making noise
- Ensures doors close fully for security and insulation
- Makes doors easy to open for everyone, including kids and seniors
- Helps meet fire safety codes, especially in multi-unit buildings
A poorly adjusted door closer is more than just annoying—it can damage the door, frame, or even the closer itself over time.
Types Of Door Closers
Not all door closers work the same way. Knowing which type you have makes adjustment much easier. Here’s a quick comparison of the most common types:
| Type | Location | Typical Use | Adjustment Method |
|---|---|---|---|
| Surface-mounted | Top of door (visible arm) | Homes, offices | Screw adjustments |
| Concealed | Inside door/frame | High-end, clean look | Usually professional |
| Floor-spring | In floor, under door | Heavy glass doors | Special tools needed |
| Hydraulic/air | Varies | Quiet, smooth action | Screw or valve |
Most American homes have surface-mounted door closers—the kind you can see at the top of the door. This guide focuses on adjusting those, since they’re the most common for DIYers.
How A Door Closer Works (in Simple Terms)
Inside a surface-mounted door closer, there’s a spring and a small chamber filled with oil or air. As you open the door, the spring compresses. When you let go, the spring pushes the door closed, but the oil (or air) slows the movement so it doesn’t slam.
Adjustment screws on the closer control:
- How fast the door closes (closing speed)
- How hard it slams or latches at the end (latching speed)
- How fast the first part of closing happens (sweep speed)
- How much force is needed to open the door (spring tension)
By turning these screws, you change the flow of oil (or air) and control the action of the door.
Tools And Safety Precautions
You don’t need a workshop of tools to adjust a door closer. Here’s what you’ll need:
- Small flat-head or Phillips screwdriver (check your closer’s screws)
- Step stool or ladder (for tall doors)
- Safety glasses (oil can spray out if you remove screws too far)
- Rags or paper towels (in case of oil leaks)
- Flashlight (if working in a dim hallway)
Safety tip: Never remove an adjustment screw completely—it can cause oil to spray out, which is messy and hard to clean. Also, support the door if you loosen the closer’s mounting bolts.
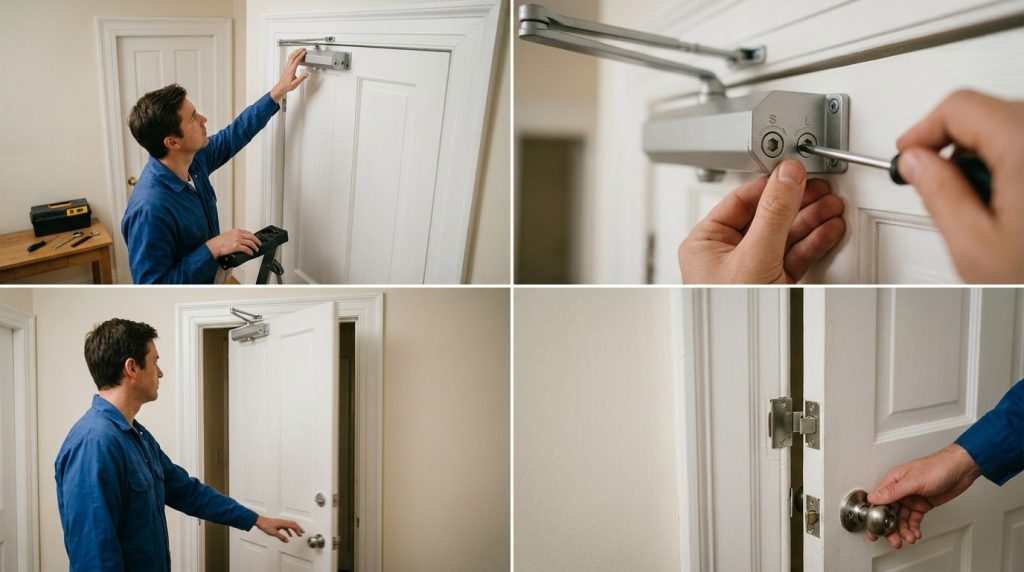
Step-by-step Guide: How To Adjust A Door Closer
Let’s walk through the full process. Every closer is a little different, so always check the label or the manufacturer’s website if you have it. But the following steps apply to most residential door closers.
1. Diagnose The Problem
Before you start adjusting, figure out what’s wrong. Stand back and watch the door as it closes. Is it:
- Slamming at the end?
- Stopping before it latches?
- Closing too slowly (doesn’t latch in windy conditions)?
- Hard to open?
Identifying the problem helps you know which screw to turn.
2. Locate The Adjustment Screws
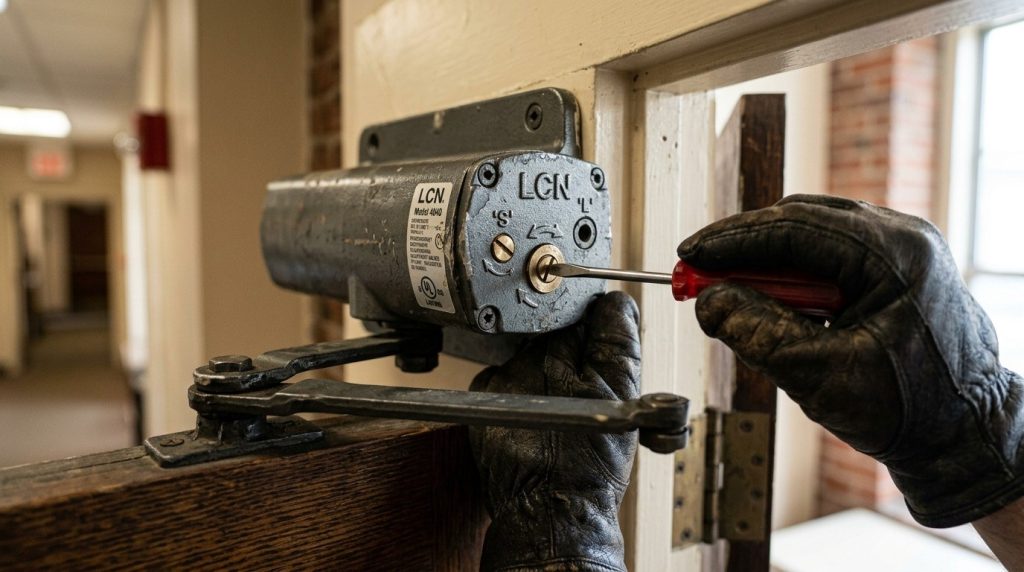
Most surface-mounted closers have two or three small screws, usually labeled:
- “S” or “Sweep” (controls the main closing speed)
- “L” or “Latch” (controls the final few inches)
- Sometimes “BC” or “Backcheck” (slows the last part of opening, not closing)
These are often at the end of the closer body, facing the door hinge side.
3. Adjust The Closing (sweep) Speed
- If the door closes too fast and slams, turn the sweep screw clockwise (right) to slow it down.
- If the door closes too slowly, turn the sweep screw counterclockwise (left) to speed it up.
Turn the screw only 1/8 of a turn at a time. Test the door each time by opening it fully and letting it close. Small adjustments make a big difference.
4. Adjust The Latching Speed
- If the door doesn’t latch (doesn’t click shut), turn the latch screw counterclockwise (left) to speed up the last part.
- If the door slams in the last few inches, turn it clockwise (right) to slow it down.
Again, use small turns and test after each one.
5. Fine-tune The Backcheck (if Present)
Some closers have a backcheck adjustment to control how fast the door opens near the end of its swing. This protects the wall and keeps the door from banging open, especially in windy entryways.
- To make opening softer at the end, turn the backcheck screw clockwise.
- To make it open more freely, turn it counterclockwise.
6. Adjust The Spring Tension (if Needed)
Some closers let you adjust the spring tension. This makes the door harder or easier to open and close. The method varies—sometimes you turn a large screw on the end, sometimes you use a hex key. Check your closer’s manual.
- Increase spring tension if the door is heavy or in a drafty area and won’t close.
- Decrease tension if the door is too hard to open.
7. Test And Repeat
Always test the door several times after each adjustment. Watch for:
- Smooth, controlled closing
- Door latching without slamming
- Easy operation for everyone in the home
It’s normal to go back and forth a few times to get it just right.
Common Mistakes Homeowners Make
Even experienced DIYers sometimes slip up. Watch out for these pitfalls:
- Turning screws too far. This can damage seals or cause oil leaks.
- Turning the wrong screw. Always check markings before adjusting.
- Not supporting the door. If you adjust mounting bolts, support the door with a wedge or helper.
- Ignoring oil leaks. If oil is dripping, the closer may be failing and need replacement.
- Over-tightening. This can make the closer hard to adjust later.
One less obvious mistake: making the door close too slowly. If your door takes more than 7–10 seconds to close from fully open, it may not latch in wind or meet fire safety codes.
Case Study: Fixing A Slamming Bathroom Door
Let’s look at a real-world example. A homeowner in Chicago noticed that their bathroom door would slam shut every time someone let go. The closer was a basic surface-mounted model. Here’s how they fixed it:
- Diagnosis: The door closed quickly at first, then slammed in the last few inches.
- Adjustment: They turned the “latch” screw clockwise by 1/8 turn. No change. Another 1/8 turn, and the slamming stopped.
- Result: The door now closed softly, and the latch clicked in place every time.
- Bonus tip: They wiped away a small oil leak, which tipped them off that the closer might need replacement in a year or two.
Lesson learned: Patience and small adjustments work best. And always check for leaks—sometimes, a closer is just worn out.
When To Replace (not Adjust) Your Door Closer
Not every problem can be fixed with an adjustment. You may need to replace your closer if:
- Oil is leaking heavily (means the internal seals failed)
- The arm or body is bent or cracked
- Adjustment screws are stripped or missing
- The door still won’t close right after several tries
If you need to buy a new closer, match the size, weight rating, and mounting style to your old one. Most hardware stores can help you choose.
When To Call A Licensed Professional
Most surface-mounted door closers are safe for DIY adjustment, but call a pro if:
- You have a concealed or floor-spring closer (requires special tools)
- The door is heavy glass or over 200 pounds
- The door is part of a fire-rated assembly in a multi-unit building
- You’re not comfortable on a ladder or stool
Some local building codes require a licensed installer for certain doors (like fire exits). When in doubt, check with your local inspector or hire a pro.
How To Choose The Right Door Closer (if Replacement Is Needed)
If your closer is broken, here’s a quick way to compare the main features:
| Feature | Basic Closer | Heavy-Duty Closer | Commercial/Fire-Rated |
|---|---|---|---|
| Price Range | $25–$40 | $50–$100 | $100–$300+ |
| Door Weight | Up to 125 lbs | Up to 250 lbs | Up to 400 lbs |
| Adjustments | Sweep, latch | Sweep, latch, backcheck, spring | All, plus code compliance |
| Best For | Homes, light use | Busy homes, offices | Fire doors, schools |
Tip: Always bring your old closer or a photo to the hardware store to help staff match the mounting hole pattern.
Practical Tips For Long-term Performance
A well-adjusted door closer can last for years with basic care. Here’s how to keep it working smoothly:
- Check and adjust at least once a year, especially in extreme weather.
- Lubricate moving parts with a silicone spray (never oil) if the arm squeaks.
- Tighten mounting screws if the closer feels loose.
- Clean away dust and debris that might block the arm’s movement.
If you live near the ocean or in a humid area, check for rust and replace hardware as needed.
Frequently Asked Questions
Why Does My Door Closer Leak Oil?
Oil leaks usually mean the internal seals have worn out. Once oil starts leaking, the closer will lose its slow-closing function and may start slamming. It’s almost always better to replace a leaking closer than try to repair it.
How Tight Should The Adjustment Screws Be?
Adjustment screws should be snug, not tight. Over-tightening can strip the threads or cause the screw to break. Turn with a screwdriver until you feel slight resistance, then stop.
Can I Install A Door Closer Myself?
Most surface-mounted closers can be installed by a handy homeowner. Read the instructions and use a template if provided. For concealed or floor closers, or any door in a commercial building, it’s best to hire a pro.
What’s The Best Way To Stop A Door From Slamming?
First, adjust the sweep and latch speeds as described above. If that doesn’t help, check for wind drafts or air pressure differences. In rare cases, installing a wind chain or upgrading to a hydraulic closer can help.
Where Can I Find More Information On Door Closers?
For technical details and building code info, visit the Wikipedia page on door closers. Your local hardware store or building inspector can also provide advice based on your specific door type.
Adjusting a door closer isn’t just about convenience—it’s about safety, comfort, and protecting your home’s value. With a little patience and the right steps, you can fix most closer problems yourself and avoid unnecessary costs. Remember, make small adjustments, test as you go, and don’t ignore signs of leaks or damage.
If you ever feel unsure, don’t hesitate to call a professional. Taking the time to get your door closer working right pays off every time you come home to a door that closes smoothly and quietly behind you.