Your Trusted Source for Home Fixes & Guides

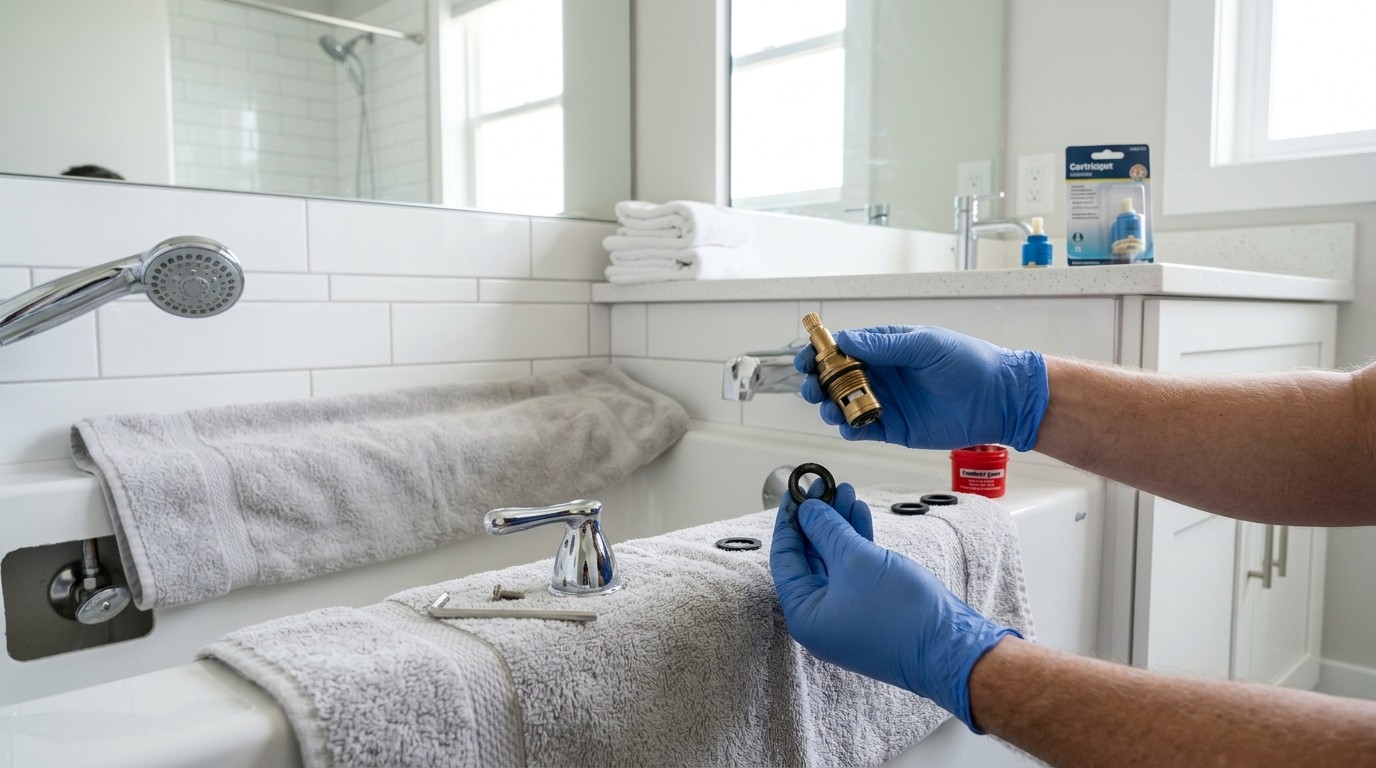
How to Fix Leaky Tub Faucet: Easy DIY Solutions That Work

Fixing a leaky tub faucet isn’t just about saving a few dollars on your water bill. It’s also about protecting your home from water damage, mold growth, and the annoyance of that constant drip-drip sound. How to Fix Leaky Tub Faucet is often simpler than many homeowners expect and may not require specialized tools. With the right approach, you can identify the cause, replace worn components, and restore your faucet to proper working condition.
The truth is, with some guidance, patience, and basic tools, you can tackle most tub faucet leaks yourself—and feel good about it.
In this guide, you’ll learn how to diagnose and fix a leaky tub faucet step by step. You’ll also find practical tips, safety advice, and common mistakes to avoid. Whether you’re a first-time DIYer or have some experience, this article will help you handle the job confidently.
And if you run into trouble, you’ll know when it’s time to call a pro.
Why Does A Tub Faucet Leak?
A leaky tub faucet is more than just an annoyance. Over time, even a small drip can waste hundreds of gallons of water and increase your utility bill. Most leaks come from worn-out washers, O-rings, or cartridges inside the faucet. These parts break down with age, especially in areas with hard water.
Sometimes, leaks happen because of mineral buildup, a loose handle, or a faulty valve seat. Identifying the cause is the first step to a proper fix.
Common Causes
- Worn Washer or Cartridge: The rubber washer or cartridge inside the faucet can harden or crack, causing water to seep through even when the handle is off.
- Damaged O-Ring: This small rubber ring creates a seal. When it wears out, leaks can start.
- Corroded Valve Seat: The valve seat connects the faucet and the spout. Over time, water can erode it, leading to leaks.
- Loose or Worn Parts: Handles, nuts, and screws can become loose with use.
Signs Of A Leaky Tub Faucet
- Continuous dripping, even when fully closed
- Difficulty turning the handle off or on
- Rust or mineral stains in the tub
- Water stains or damage around the faucet
If you notice any of these, it’s time to investigate.
Types Of Tub Faucets
Before you start repairs, you need to know what type of tub faucet you have. The fix depends on the faucet’s design.
| Faucet Type | Common Features | Typical Repair Parts |
|---|---|---|
| Compression | Two handles (hot/cold), older homes | Washers, O-rings, seat washers |
| Cartridge | One or two handles, smooth motion | Cartridge, O-rings |
| Ball | Single handle, rotates in all directions | Ball assembly, springs, seats |
| Ceramic Disk | Single handle, very smooth, drip-resistant | Ceramic disk, seals |
Most tub faucets in the U.S. are either compression or cartridge types. If you’re not sure, search your faucet’s brand and model online or take a photo to your local hardware store.
Safety First: Preparation And Precautions
Fixing a leaky tub faucet is usually safe, but you should always take precautions:
- Turn off the water supply to the tub. Look for a shutoff valve near the tub or use the main water valve for the house.
- Test the faucet to be sure water is fully off. Open the handle and check for drips.
- Cover the drain with a rag or stopper. Small screws and parts can fall in easily.
- Have towels handy for any water left in the pipes.
- Wear safety goggles if you’ll be using tools to pry or cut.
If your home is very old or has unusual plumbing, you may want to consult a professional before starting.
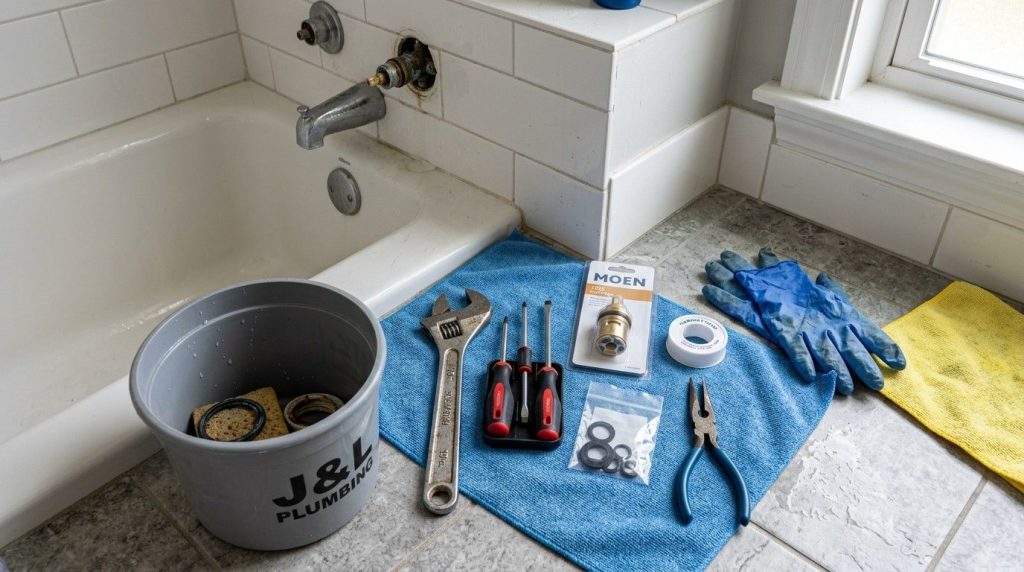
Tools And Materials You’ll Need
Gather everything before starting. This saves frustration and time.
- Adjustable wrench or basin wrench
- Phillips and flathead screwdrivers
- Faucet repair kit (specific to your faucet type)
- Replacement washers, O-rings, or cartridges
- Needle-nose pliers
- Allen wrench (for some handles)
- Plumber’s grease
- White vinegar (for cleaning parts)
- Old toothbrush (for scrubbing mineral deposits)
- Rags or towels
- Plumber’s tape (Teflon tape)
- Small bowl or tray for screws
Buying a faucet repair kit is often easier than hunting for individual parts. These kits are widely available at hardware stores and come with instructions.
Step-by-step Guide: How To Fix A Leaky Tub Faucet
The exact steps depend on your faucet type, but the general process is similar for most models.
Step 1: Turn Off Water Supply
Locate the shutoff valves for your tub. If you can’t find them, turn off the main water supply to the house. Open the faucet to let any water drain out and confirm it’s fully off.
Step 2: Remove The Faucet Handle
Most handles have a visible screw or a hidden set screw.
- For handles with a top cap, pry the cap off with a flathead screwdriver.
- Loosen the screw underneath with a screwdriver or Allen wrench.
- Gently pull the handle off. If it’s stuck, wiggle it back and forth or use a handle puller tool.
Step 3: Take Out The Escutcheon And Stem
The escutcheon is the decorative plate behind the handle.
- Unscrew and remove the escutcheon.
- Use a wrench to loosen and remove the packing nut.
- Pull out the stem or cartridge with pliers.
Tip: Take a photo at each step. It helps during reassembly.
Step 4: Inspect And Replace Faulty Parts
Carefully check the washer, O-ring, or cartridge for damage.
- On compression faucets, the washer is at the end of the stem. Unscrew and replace it.
- On cartridge faucets, remove the old cartridge and slide in a new one.
- For ball or ceramic disk faucets, follow the kit’s instructions.
Clean any mineral buildup with vinegar and an old toothbrush.
Step 5: Reassemble And Test
Reverse your steps to reassemble the faucet.
- Apply plumber’s grease to O-rings and moving parts.
- Wrap threads with plumber’s tape.
- Tighten all screws and nuts, but don’t overtighten—they can crack.
Turn the water back on. Open and close the faucet to test for leaks. If it still drips, double-check your work or try replacing the entire stem or cartridge.
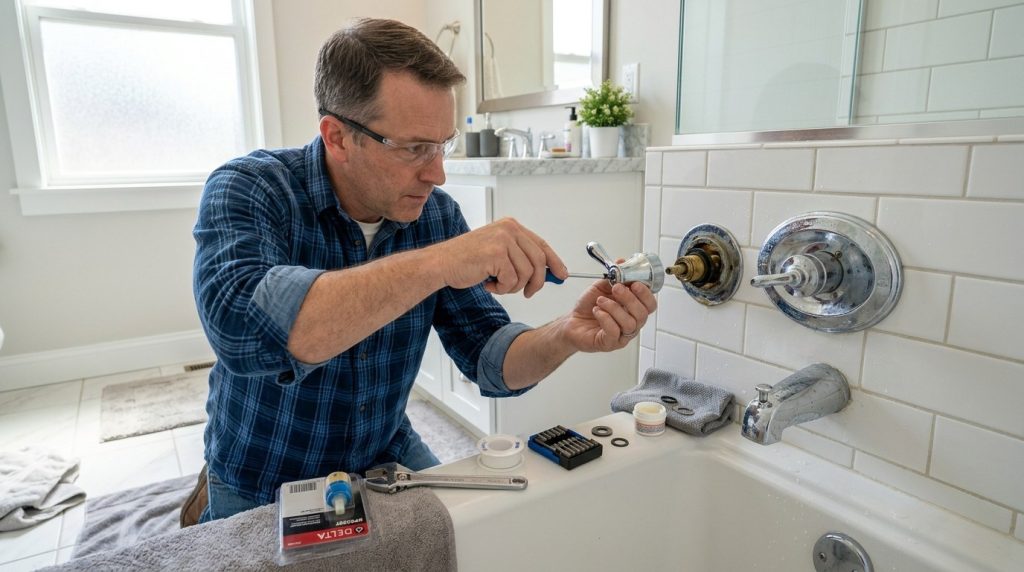
Case Study: Real Homeowner Experience
Let’s look at a real-world example. Sarah, a homeowner in Ohio, noticed her tub faucet had a slow drip for months. She put off fixing it, thinking it was minor. After a while, her water bill increased by $20 per month.
Finally, she decided to act.
She identified her faucet as a compression type with two handles. Armed with a basic tool kit and a $6 washer set, she followed these steps:
- Turned off the main water supply
- Removed the handle and escutcheon
- Replaced the worn washer at the base of the stem
- Cleaned out mineral deposits
- Reassembled the faucet
The leak stopped instantly. The repair took less than an hour. She later found that over a year, her leaky faucet would have wasted nearly 2,000 gallons of water and cost her over $200. This story shows how a simple DIY fix can have a big impact.
When To Call A Licensed Plumber
Most tub faucet leaks are easy to fix, but there are times when you should call a professional:
- The leak continues after replacing parts
- You see signs of major water damage behind the wall
- Pipes are corroded, rusted, or hard to access
- You don’t have shutoff valves for the tub
- The faucet is unusually old or rare
Don’t risk damaging your plumbing or voiding your home warranty. If you’re unsure, it’s always smart to ask for help. Plumbers can also upgrade your faucet to a newer, more efficient model.
How Much Water Does A Leaky Tub Faucet Waste?
The cost of a leaky faucet can surprise you. Even a slow drip adds up over time.
| Drip Rate | Gallons Wasted per Day | Gallons Wasted per Year | Estimated Cost per Year |
|---|---|---|---|
| 1 drip/second | 5 | 1,825 | $35–$60 |
| 2 drips/second | 10 | 3,650 | $70–$120 |
| Slow trickle | 20+ | 7,300+ | $140+ |
These numbers are averages and depend on your local water rates. Fixing a leak not only saves money but also helps the environment.
Common Mistakes Homeowners Make
Fixing a leaky tub faucet is simple, but there are some easy-to-miss pitfalls:
- Not shutting off water fully: Always double-check before removing parts.
- Mixing up replacement parts: Take the old part to the store for an exact match.
- Forgetting plumber’s tape: This helps prevent leaks at threaded connections.
- Overtightening screws: This can crack parts or strip threads.
- Losing small pieces: Use a tray or bowl to keep screws and washers organized.
- Skipping cleaning: Mineral deposits can cause leaks even after replacing parts.
If you rush, you may need to redo the repair.
Tips For A Long-lasting Repair
To make sure your fix lasts, follow these tips:
- Use quality replacement parts. Cheap washers or cartridges wear out faster.
- Clean all parts before reassembly. Even small debris can cause leaks.
- Lubricate O-rings and threads. Plumber’s grease prevents wear and sticking.
- Test the faucet after repair. Check for drips and smooth handle action.
- Inspect yearly. Early checks help prevent future leaks.
If you have very hard water, install a water softener to protect your plumbing.
How To Identify Faucet Type If You’re Not Sure
Not all faucets are clearly labeled. Here’s how you can tell:
- Compression: Two handles, turns fully off and on, often older homes.
- Cartridge: One or two handles, moves smoothly, no “screwing” action.
- Ball: Single handle, rotates in all directions, no “click.”
- Ceramic Disk: Single handle, very smooth and solid, rare to drip.
If you’re still unsure, remove the handle and stem—bring them to a hardware store. Staff can usually identify the type and help you find the right repair kit.
Advanced Repairs: Dealing With Valve Seats
Sometimes, replacing washers and cartridges doesn’t stop the leak. The valve seat (where the stem meets the faucet) may be worn or corroded. Here’s what you can do:
- Use a valve seat wrench to remove and replace the seat, available at hardware stores.
- For minor wear, use a valve seat grinder or “reseating tool” to smooth out the surface.
- Severe corrosion may require a plumber.
If you skip this step when needed, the leak will return—even with new washers.
Preventing Future Leaks
Prevention is always easier than repair. Here’s how to avoid future problems:
- Turn handles gently. Forcing them can damage washers and O-rings.
- Fix drips early. Address leaks as soon as you notice them.
- Clean faucet aerators and spouts. Remove mineral buildup every few months.
- Install water softener. Hard water shortens faucet life.
- Schedule annual inspections. Catch small issues before they grow.
Most leaks are the result of worn parts, not faulty plumbing. Regular attention pays off.
Eco-friendly Benefits Of Fixing Leaks
Fixing a leaky tub faucet isn’t just good for your wallet—it’s good for the planet. The EPA estimates that household leaks can waste nearly 1 trillion gallons of water nationwide each year. By repairing a single dripping faucet, you can save more than 3,000 gallons annually. For more on water conservation, check the EPA WaterSense website.
If you’re passionate about reducing your environmental impact, fixing plumbing leaks is an easy and effective way to help.
Comparing Diy Vs. Professional Faucet Repair
Sometimes, it’s worth weighing the pros and cons of fixing it yourself versus hiring a pro. Here’s a quick side-by-side look:
| Aspect | DIY Repair | Professional Repair |
|---|---|---|
| Cost | $5–$40 (parts only) | $150–$350 (labor and parts) |
| Time | 30–90 minutes | 30–60 minutes |
| Skill Needed | Basic DIY skills | Professional expertise |
| Warranty | None (DIY) | Usually included |
| Risk of Error | Medium | Low |
For most common leaks, DIY repairs make sense. If you run into old, complex, or hidden plumbing issues, a plumber is the best choice.
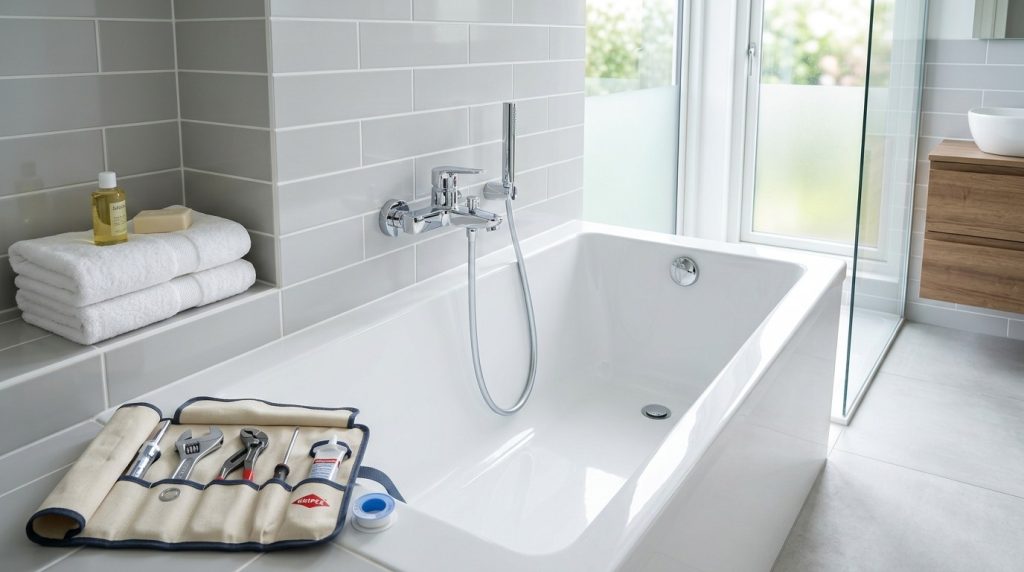
Frequently Asked Questions
What If My Tub Faucet Still Leaks After Replacing The Washer Or Cartridge?
If the leak continues, the valve seat may be damaged or corroded. Try reseating or replacing the valve seat. In rare cases, hidden plumbing issues can cause leaks, and you may need a plumber to investigate further.
How Do I Know Which Replacement Part To Buy?
Remove the old washer, O-ring, or cartridge and bring it to your local hardware store. Staff can help you find an exact match. You can also check the faucet brand and model online for a parts diagram.
Is It Safe To Fix A Leaky Tub Faucet Myself?
Yes, most repairs are safe for homeowners who follow basic precautions: turn off the water supply, use the right tools, and don’t force parts. If you’re unsure or see signs of hidden water damage, call a professional.
Can A Leaky Faucet Cause Water Damage Behind The Wall?
It’s possible, especially if the leak goes on for weeks or months. Watch for mold, peeling paint, or musty smells near the faucet area. If you see these signs, contact a plumber right away.
How Often Should I Check My Tub Faucet For Leaks?
Check your tub faucet every few months. Look for drips, rust stains, or higher water bills. Early detection makes repairs easier and less expensive.
Fixing a leaky tub faucet is a smart, practical way to take care of your home. With a little time and the right tools, you can stop the drip, save money, and feel good about your DIY skills. If you ever feel unsure, don’t hesitate to call a pro—your home’s plumbing is worth protecting.