Your Trusted Source for Home Fixes & Guides


How to Fix a Warped Door: Simple Steps for a Perfect Fit

How to Fix a Warped Door is a practical DIY skill that can improve your home’s comfort, privacy, and energy efficiency. If you’re wondering how to fix a warped door, many common problems can be solved with basic tools, careful adjustments, and the right repair techniques. This guide explains the causes of door warping, step-by-step fixes, and when replacing the door is the better option.
In this guide, you’ll get practical, step-by-step advice for fixing a warped door—whether it’s a slight curve, a stubborn jam, or a serious twist. You’ll learn why doors warp, how to spot the early signs, what methods really work, and when it’s smarter to call a pro.

I’ll include expert tips, common mistakes to avoid, and a real-life case study that shows you what to expect. By the end, you’ll know how to restore a smooth, reliable door—often without spending much money.
Why Do Doors Warp?
Before you grab your toolbox, it helps to understand what causes a door to warp. Wood is a natural material, and it reacts to its environment. Most doors are made from wood, MDF, or sometimes metal—all of which can change shape for various reasons.
The main causes of warping are:
- Moisture and humidity – When one side of a door absorbs more moisture than the other, it expands unevenly. This causes bends or twists, especially in older or solid-wood doors.
- Temperature changes – Sudden changes in temperature can make wood expand or contract, leading to warping over time.
- Poor sealing or finish – If a door isn’t sealed or painted properly, it’s more likely to absorb moisture from the air.
- Improper installation – Doors that aren’t hung straight, or that lack enough clearance, often warp as the frame shifts or the house settles.
- Low-quality materials – Cheaper doors (like hollow-core) are more likely to deform, especially if exposed to moisture.
Tip: If you live in a humid area or have a bathroom without good ventilation, your doors are at higher risk.
How To Identify A Warped Door
Spotting a warped door early can save you time and frustration. Look for these signs:
- The door rubs or sticks when opening/closing.
- Gaps appear at the top, bottom, or sides—even when the door is “closed.”
- The latch doesn’t line up with the strike plate.
- You see a visible bend, twist, or curve when looking along the door’s edge.
Practical test: Close the door and try sliding a piece of paper around the edges. If it gets stuck or slips through easily in some spots but not others, you’ve got warping.
Tools And Materials You’ll Need
Fixing a warped door doesn’t require an advanced toolkit. Here’s what you’ll likely need:
- Screwdriver (flathead and Phillips)
- Level (2 ft or longer)
- Tape measure
- Sandpaper (medium and fine grit)
- Wood shims
- Clamps (at least 2, for straightening)
- Wood glue or carpenter’s glue
- Weights (like books or bricks)
- Paint or sealant (for moisture protection)
- Safety glasses and gloves
Optional: Saw, hand plane, or electric planer if you need to remove material.
Safety Tip: Always wear safety glasses when sanding, planing, or using power tools. Keep fingers clear of blades.
Step-by-step: Fixing A Slightly Warped Door
If your door is only slightly warped (less than 1/4 inch off), you can often fix it without removing the door or spending much money.
1. Check And Tighten Hinges
Loose hinges are a common cause of “fake” warping. Before you start sanding or planing, make sure the door is firmly attached.
- Open the door and inspect each hinge.
- Use a screwdriver to tighten any loose screws.
- If screws spin but don’t tighten, fill the hole with toothpicks coated in wood glue, then reinsert the screw.
Common mistake: Skipping this step can lead you to “fix” a door that just needs the hinges tightened.
2. Use A Level To Check Alignment
Place a level along the edge of the door—both vertically and horizontally. This will show exactly where the door is bowed or twisted. Mark the high spots with a pencil.
3. Sand Or Plane The High Spots
For small warps, gentle sanding or planing can help.
- Remove the door from its hinges (if possible).
- Lay it flat on a stable surface.
- Sand or plane the high spots until the door is flat.
- Be careful not to remove too much material—go slowly and check with the level often.
Pro tip: Always sand or plane with the grain of the wood to avoid splinters.
4. Seal And Paint
Once you’ve reshaped the door, apply a fresh coat of paint or sealant. This protects against future moisture and keeps the door from warping again.
Straightening A Severely Warped Door
If your door has a noticeable bend, twist, or bow, you’ll need a more involved approach. The following method works best for solid-wood or high-quality doors.
1. Remove The Door
Take the door off its hinges and lay it on a flat, dry surface. If possible, do this indoors to avoid extra moisture from the weather.
2. Add Moisture To The Concave Side
This step may sound odd, but controlled moisture can help “reset” the wood’s shape. Lightly mist the concave (inside curve) side with water. Do NOT soak the door—just a light spray.
- Let the door sit for 30–60 minutes. The wood fibers will relax slightly.
3. Clamp And Straighten
- Place two sturdy boards (like 2x4s) along each edge of the door.
- Use clamps to press the door flat against the boards, forcing it back into shape.
- For extra pressure, add weights in the center of the door.
Let the door remain clamped for 24–48 hours. The wood should “remember” its original shape.
4. Dry Slowly
After unclamping, let the door air dry for another 24 hours. Avoid direct sunlight or heat, which can cause cracking.
Tip: If you have a dehumidifier, run it in the room to help the process.
5. Seal All Edges
When the door is flat, seal all edges—especially the top and bottom—with paint or a good quality wood sealant. Most homeowners forget the top and bottom, but these are common moisture entry points.
6. Reinstall And Test
Hang the door, tighten the hinges, and check for smooth operation. If it still rubs, repeat the clamp-and-straighten process or move to more advanced fixes.
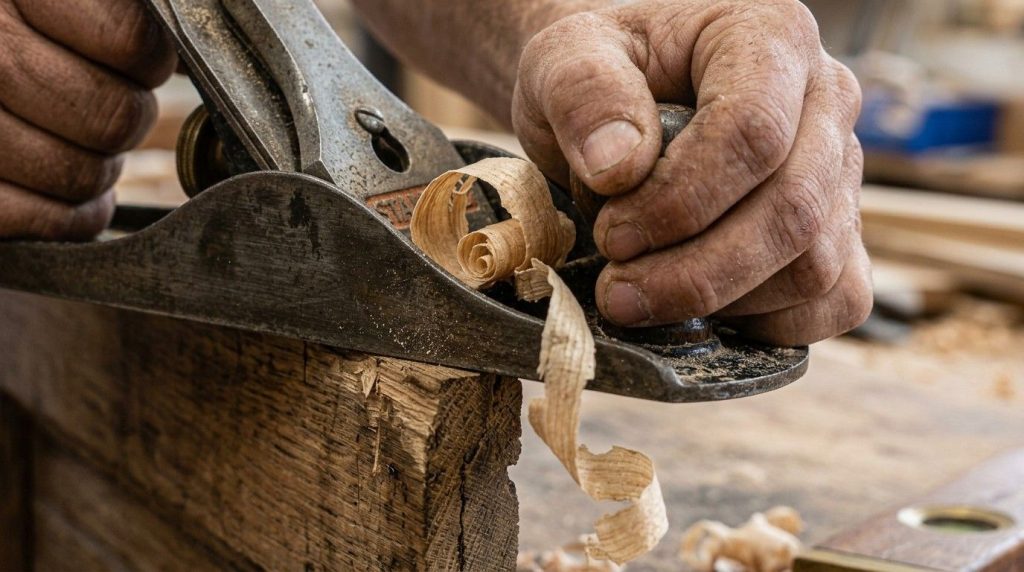
Table: Methods For Fixing Warped Doors
Here’s a quick comparison of common methods for fixing warped doors:
| Method | Best For | Tools Needed | Skill Level | Success Rate |
|---|---|---|---|---|
| Tighten Hinges | Minor misalignments | Screwdriver | Beginner | High |
| Sanding/Planing | Slight warps | Sandpaper, plane | Beginner/Intermediate | Medium |
| Clamping & Moisture | Severe warps | Clamps, weights | Intermediate | Medium |
| Replace Door | Irreparable warps | — | Beginner | Guaranteed |
Advanced Fixes For Persistent Warps
Sometimes, simple fixes aren’t enough. Here are a few advanced methods that can help, especially with expensive or historic doors.
1. Kerf Cuts (for Severe Bows)
This involves making shallow, parallel cuts (kerfs) on the convex (outside curve) side of the door. This relieves tension and allows the door to flatten. After kerfing, fill the cuts with wood glue and clamp the door flat for 24–48 hours.
Warning: This method requires skill with a circular saw. If you’re not confident, call a professional.
2. Adding A Stiffener
For hollow-core doors that keep bending, you can add a stiffener (like a metal or wood strip) to the edge or the inside. This helps hold the door straight, but may change its weight or appearance.
3. Door Replacement
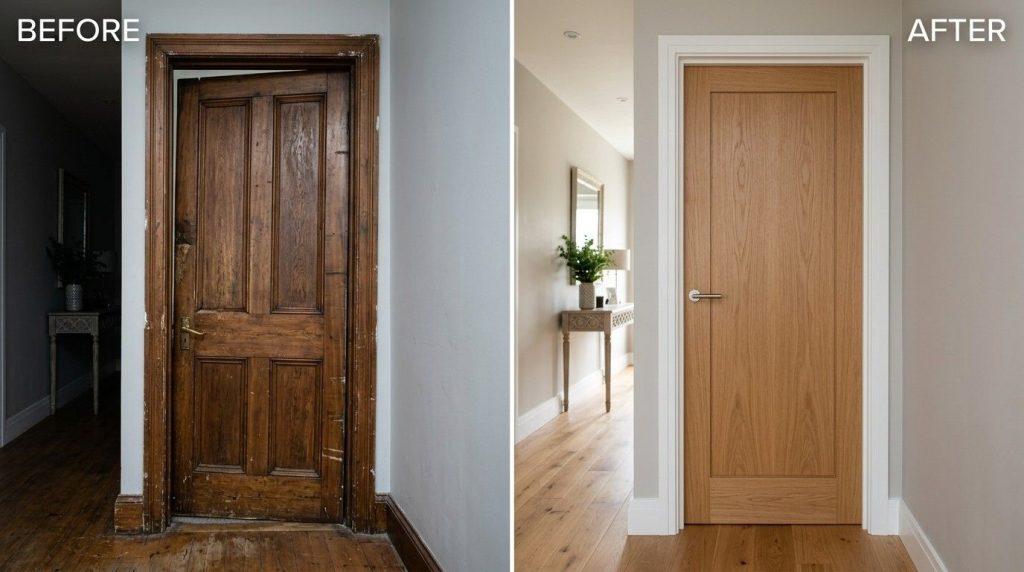
If a door is badly warped, rotten, or has structural damage, replacement is often the best choice. Replacing with a solid-core or composite door can prevent future warping, especially in humid climates.
Table: Door Types And Warp Resistance
The material of your door affects how likely it is to warp. Here’s how common types compare:
| Door Type | Warp Resistance | Cost | Best For |
|---|---|---|---|
| Solid Wood | Medium | High | Historic/Quality Homes |
| Hollow-Core | Low | Low | Interiors, Budget |
| Solid-Core | High | Medium | Bathrooms, Bedrooms |
| Metal | Very High | Medium-High | Exteriors |
| MDF | Medium | Medium | Painted Interiors |
Common Mistakes To Avoid
Even experienced homeowners make errors when fixing warped doors. Here’s what to watch for:
- Ignoring the source of moisture – Fixing a door without addressing leaks, humidity, or poor ventilation leads to repeat warping.
- Over-sanding or planing – Removing too much material weakens the door and can create new gaps.
- Forgetting to seal top and bottom edges – Most warping starts here, but these spots are often left bare.
- Rushing the clamping process – Not leaving the door clamped long enough means it won’t hold its new shape.
- Using the wrong sealant or paint – Low-quality finishes let moisture back in.
- Skipping safety gear – Sanding or planing creates dust and splinters—always use eye protection and a mask.
When To Call A Professional
DIY isn’t always the answer, especially for expensive, antique, or exterior doors. Call a licensed carpenter or door specialist if:
- The door is a historic or valuable piece.
- You see signs of rot, mold, or insect damage.
- The door is metal or fire-rated (these require special repairs).
- You’re not comfortable using power tools or making structural changes.
A pro can often save a door you thought was lost, or recommend the best replacement for your climate and home style.
Case Study: Fixing A Warped Bathroom Door
Let’s look at a real example. In a 1970s ranch-style home in Florida, the homeowner noticed that the bathroom door would not close during the rainy season. The door had a visible bow and rubbed against the frame.
Step 1: The owner checked the hinges first. All were tight, but the problem remained.
Step 2: Using a level, she found the door bowed outward by 3/8 inch in the center.
Step 3: After removing the door, she lightly misted the concave side and clamped it between two straight 2x4s, adding heavy books on top.
Step 4: After 48 hours, the door was noticeably flatter. She let it air dry for another day.
Step 5: She sanded the high spot slightly, then sealed all six edges with exterior-grade paint.
Result: The door hung straight, closed smoothly, and hasn’t warped again after two years. The owner also added a vent fan to reduce humidity—a step many forget.
Insight: Humidity control was the lasting solution, not just the repair. Many homeowners focus only on the door, missing the root cause.
Table: Cost Comparison – Repairing Vs Replacing
Wondering if repair is worth it? Here’s a cost comparison:
| Option | DIY Cost | Professional Cost | Time Required |
|---|---|---|---|
| Minor Repair (Sanding, Sealing) | $10–$30 | $80–$150 | 1–2 hours |
| Clamping/Reshaping | $20–$50 | $150–$250 | 2–3 days (including drying) |
| New Hollow-Core Door | $40–$90 | $150–$300 | 1–2 hours |
| New Solid-Core Door | $120–$300 | $300–$600 | 1–2 hours |
Note: Prices vary by region and whether you already own tools.
Preventing Future Door Warping
Once you’ve fixed your door, you’ll want to keep it that way. Here’s how:
- Seal all edges with paint or a quality wood sealant—especially after repairs.
- Control humidity in bathrooms, basements, and laundry rooms. Use vent fans or dehumidifiers.
- Check for leaks around windows, doors, and plumbing.
- Install door sweeps or weatherstripping to keep moisture from entering under doors.
- Regularly inspect doors for early signs of warping, especially before wet seasons.
Pro insight: Many warped doors can be avoided by sealing the top and bottom edges, which manufacturers often leave unfinished.
Frequently Asked Questions
What Causes A Door To Warp The Most?
The biggest cause is uneven moisture exposure. When one side of the door gets damp while the other stays dry, the wood expands unevenly, causing bends or twists. Poor sealing and high humidity make this worse.
Can You Fix A Hollow-core Door If It Warps?
You can often fix minor warps in hollow-core doors with clamping and gentle reshaping. For severe warps, replacement is usually more cost-effective, since these doors are less sturdy than solid-wood types.
How Long Does It Take To Fix A Warped Door?
Minor repairs (like sanding or hinge tightening) can take an hour or less. Clamping and reshaping may take 2–3 days, including drying time. Severe cases or professional repairs can take longer.
How Do I Know If I Should Replace Or Repair My Door?
If the door has severe warping, rot, or structural damage—or if previous repairs failed—replacement is usually the better option. For minor warps, repairs are faster and cheaper.
Where Can I Learn More About Wood Movement And Door Repair?
A great resource for learning about wood behavior and repairs is the This Old House website, which offers expert advice and project guides.
A warped door doesn’t have to ruin your day. With these methods, you can restore smooth, reliable function to almost any interior door—and prevent future problems by tackling moisture and sealing issues now. If you ever feel unsure, don’t hesitate to call a pro.
A well-fitted door is a small fix that makes a big difference in how your home feels and works.