Your Trusted Source for Home Fixes & Guides

How to Hang a Prehung Door: Step-by-Step Guide for Beginners

Hanging a prehung door can look simple, but there’s more to it than just putting a door in a hole and tightening a few screws. If you want your door to swing smoothly, fit snugly, and keep out drafts, every step matters.
As someone who’s hung dozens of doors while remodeling bathrooms and updating homes, I’ve learned that good preparation and careful work make all the difference. In this article, I’ll show you how to hang a prehung door, explain the tools and materials you need, share real-world tips, and point out common mistakes to avoid.
By the end, you’ll feel confident tackling this project yourself—or know when it’s better to call a pro.

Understanding Prehung Doors
A prehung door is a door already mounted on its frame, complete with hinges. The whole unit comes ready to install into a rough opening in your wall. This means you don’t have to worry about lining up the hinges or building a door frame from scratch. It’s a big time-saver for homeowners and pros alike.
Why Choose A Prehung Door?
- Easy alignment: The hinges and door are already matched and square.
- Time-saving: No need to build a frame or hang the door slab separately.
- Great for new construction or major remodels: Works best when the wall opening is unfinished or being rebuilt.
- Seals better: Prehung units often come with weatherstripping for exterior doors.
- Less room for error: The frame and door are made to fit together perfectly.
However, prehung doors do require careful installation. If the frame isn’t perfectly level and plumb, your door may not open or close right.
Tools And Materials Needed
Gather everything before you start. Missing even a small tool can slow you down or cause mistakes.
Essential Tools
- Tape measure: For checking rough opening size and shimming.
- Level: A 4-foot level works best for accuracy.
- Hammer or drill/driver: For nailing or screwing the frame.
- Utility knife: To score drywall or trim shims.
- Pry bar: To adjust the frame or remove old door parts.
- Carpenter’s square: For checking corners.
- Pencil: For marking lines or hinge placement.
- Shims: Thin wood wedges for leveling the frame.
- Nails or screws: 8d or 10d finish nails, or 2-1/2” screws for securing the frame.
- Caulk and foam insulation: For sealing gaps (exterior doors).
- Safety glasses and gloves: Protect your eyes and hands from splinters and debris.
Materials Checklist
- Prehung door unit (with frame, door, and hinges)
- Door hardware (knob, latch, and strike plate)
- Casing or trim to cover gaps
- Wood filler or putty (for nail holes)
- Paint or stain (if finishing)
Quick tip: Buy a few extra shims, nails, and screws. They’re cheap, and you’ll use more than you think.
Measuring The Rough Opening
Before buying your door, make sure it will fit your rough opening. This is one of the most important steps and a spot where many people go wrong.
How To Measure
- Width: Measure from stud to stud, not drywall to drywall.
- Height: Measure from the subfloor to the top stud.
- Depth: The thickness of the wall (usually 4-9/16” for standard 2×4 walls).
A prehung door frame should be about 2 inches narrower and 2-1/2 inches shorter than the rough opening. This leaves room for the frame, shims, and adjustment.
Example
If your rough opening is 36” wide by 82” tall, you’ll want a door unit that’s about 34” x 80”. Always double-check manufacturer specs.
Common Mistake
Don’t assume old openings are square or the same size everywhere. Measure at the top, middle, and bottom. If the opening is out of square, you’ll need extra shimming.
Removing The Old Door And Frame
If you’re replacing an existing door, you need to remove the old one first. This can get messy, especially in older homes.
Steps To Remove An Old Door
- Remove the hinge pins with a hammer and screwdriver, then lift the door out.
- Pry off the inside and outside trim using a flat bar.
- Cut through any caulk or paint seal with a utility knife.
- Pry the old frame out of the opening. Work slowly to avoid damaging the wall.
- Clean up old nails, shims, or debris.
Safety tip: Wear gloves and eye protection. Old nails can be sharp, and wood splinters are common.
Preparing The Rough Opening
A clean, level opening is key for a successful install.
What To Check
- Level floor: Use a level to check if the floor in the opening is flat. Shim under the door sill if needed.
- Plumb walls: The sides of the opening should be vertical. If not, you’ll need more shims.
- Clear of debris: Remove old caulk, nails, or wood pieces.
Adjusting The Opening
If the opening is too small, carefully trim the framing. If it’s too big, use extra shims. Never force a door into a tight space—it will cause problems later.
Dry Fitting The Prehung Door
Before nailing anything, dry fit the door. This means setting it in the opening to check the fit.
How To Dry Fit
- Place the door unit in the opening with the door facing the right way (swinging in or out as needed).
- Make sure the hinge side is flush with the drywall.
- Check that there’s even space around the door (about 1/8” at the top and sides).
- Open and close the door to see if it swings freely.
If anything feels tight or crooked, adjust the shims or opening now.
Shimming And Leveling
This is the most important part. Take your time here.
Steps To Shim And Level
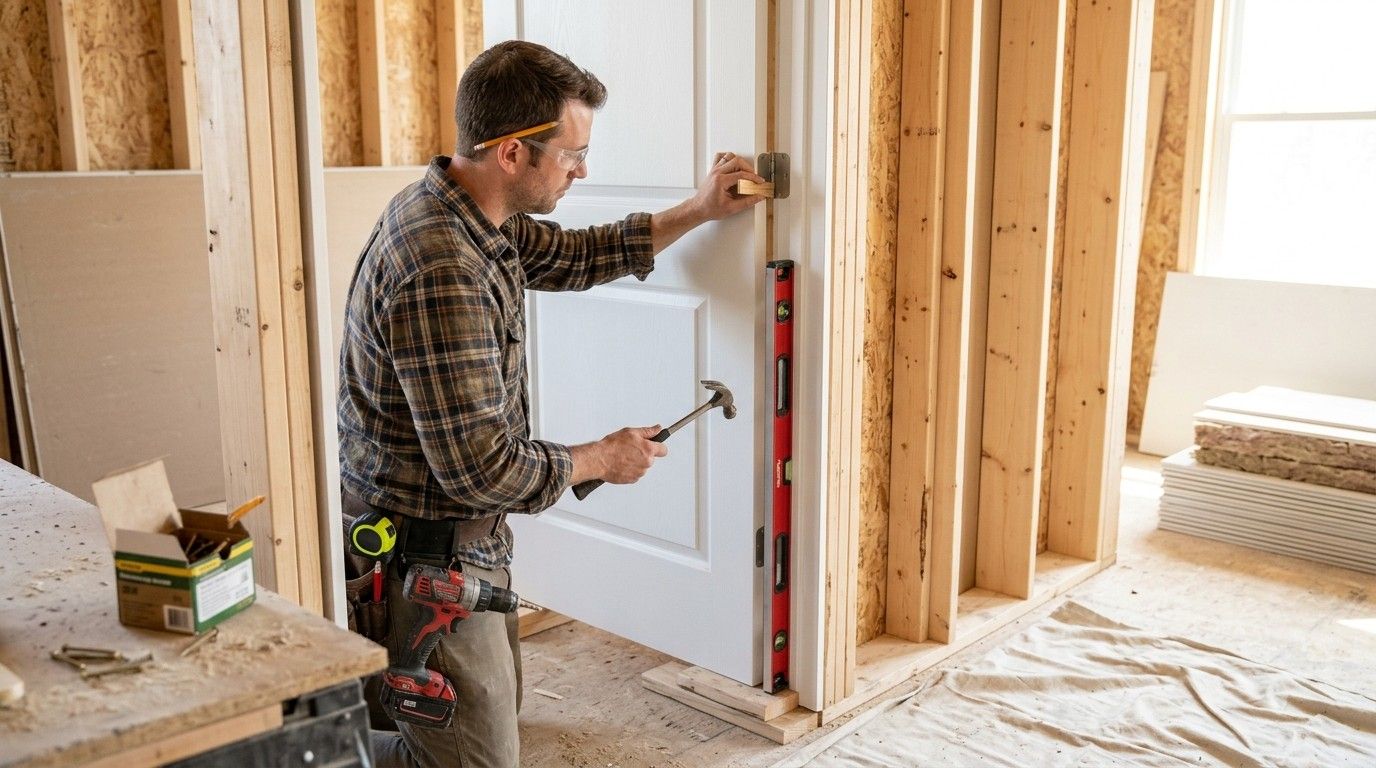
- Start with the hinge side of the frame. This keeps the door hanging straight.
- Place shims behind each hinge location. Use your level to make sure the frame is perfectly vertical (plumb).
- Lightly nail or screw through the jamb and shims to hold them in place.
- Move to the latch side. Use shims at the top, middle, and bottom to make the gap even all the way down.
- Check the top (head jamb) with your level. Shim as needed to keep it square.
- Open and close the door again. It should swing easily and not hit the frame.
Pro tip: Use a long level for best results. A short level can miss small errors that turn into big problems.
Where People Go Wrong
- Over-tightening the frame so the door can’t move.
- Skipping shims or putting them only at the top and bottom.
- Not double-checking the door swing before securing.
Securing The Door Frame
Once you’re happy with the fit, it’s time to secure the frame for good.
Fastening The Frame
- Use 8d finish nails or 2-1/2” screws through the jamb and shims, about 2” from each end and at each hinge and latch location.
- For extra strength, angle some nails slightly in opposite directions.
- Do not overtighten. This can bend the frame and make the door stick.
Hiding Your Fasteners
Countersink the nails slightly and fill the holes with wood putty. This gives a smooth look when painting or staining later.
Important: If you’re installing an exterior door, also anchor the sill to the subfloor for security.

Insulating And Sealing (for Exterior Doors)
Exterior doors need to be weather-tight.
How To Seal
- Use low-expansion spray foam or fiberglass insulation between the frame and the wall. Don’t overfill, or it can warp the frame.
- Run a bead of caulk along the outside trim to keep out wind and water.
- Check for air leaks by running your hand around the frame.
A well-sealed door saves energy and keeps your home comfortable.
Installing Door Hardware
Now it’s time to add the doorknob, latch, and strike plate.
Steps
- Insert the latch into the edge of the door. Screw it in place.
- Install the knob or lever. Tighten screws so it’s firm but not over-tight.
- Attach the strike plate to the door frame. Make sure it lines up with the latch.
- Test the lock and handle. The door should latch easily and not rattle.
Tip: For bathroom or bedroom doors, use privacy knobs with a simple lock. For main doors, choose a sturdy deadbolt for security.
Installing Casing And Trim
Trim covers the gap between the frame and the wall, giving a finished look.
How To Install Trim
- Measure and cut the top piece (header) to fit.
- Cut the side pieces (legs) to reach from the floor to the header.
- Nail the trim in place, using finish nails every 16-18 inches.
- Fill any nail holes with wood putty, then sand smooth.
- Paint or stain as desired.
Case Study: Bathroom Door Upgrade
During a recent bathroom remodel in a 1950s ranch home, the old door stuck badly and let in steam, making the hallway humid. The rough opening was slightly out of square. By dry-fitting the new prehung door and carefully shimming the hinge side, I was able to get a tight seal and smooth swing.
After adding weatherstripping, the bathroom stayed private, steam-free, and the door opened with a gentle push—no more slamming. The homeowner was surprised by how much quieter and more comfortable the room felt.
When To Call A Professional
Some situations are best left to the pros:
- The wall framing is rotted or badly damaged.
- The opening is much too small or large for a standard door.
- You’re not comfortable using power tools or working with carpentry.
- The door is very heavy (like solid wood or security doors).
A licensed contractor can handle tricky installs safely and quickly. For most basic interior doors, a careful DIYer can do the job with patience.
Comparing Door Materials
Choosing the right door material is key for looks, security, and durability. Here’s a quick comparison:
| Material | Durability | Cost | Best Use |
|---|---|---|---|
| Solid Wood | High | $$$ | Front or main interior doors |
| Hollow Core | Low | $ | Closets, bedrooms |
| Fiberglass | Very High | $$ | Exterior doors |
| Steel | Very High | $$ | Security/exterior |
| Composite | Medium | $$ | Budget interior/exterior |
Comparing Nails Vs. Screws For Frame Attachment
Fastener choice impacts strength and ease of adjustment.
| Fastener | Strength | Ease of Use | Best For |
|---|---|---|---|
| Nails | Medium | Fast, less adjustment | Trim, quick installs |
| Screws | High | Slower, more adjustable | Heavy doors, uneven framing |
Finishing Touches
Don’t skip these final details—they matter more than you think.
Painting Or Staining
- Paint or stain the door and trim for a finished look.
- Sand surfaces lightly before finishing.
- Apply at least two coats for durability.
Adjusting The Door
- If the door rubs or sticks, adjust the shims or hinge screws.
- For minor alignment issues, a small turn of a screw can make a big difference.
Cleaning Up
- Remove all tools, shims, and debris.
- Wipe down the door and trim.
- Check the latch and lock one last time.
Common Mistakes To Avoid
- Not measuring the rough opening carefully: Always measure twice—errors here cause headaches later.
- Skipping the dry fit: Even prehung doors can vary. Test before securing.
- Over-shimming or under-shimming: Both can make the door bind or swing open by itself.
- Forgetting insulation (for exterior doors): Gaps let in drafts and bugs.
- Ignoring safety: Always wear protective gear and use tools properly.
- Nailing too close to the edge: Can split the wood frame.
- Not checking door swing: Make sure the door opens the right way for the room layout.
Real-world Tips And Insights
- Shim behind hinges: This keeps the frame strong and prevents sagging over time.
- Leave the door closed while securing the frame: This helps keep the reveal (gap) even.
- Check for squeaks: A little lubricant on the hinges now saves trouble later.
- For bathrooms: Use solid or semi-solid doors for privacy and noise control.
- Reuse old hardware if possible: Sometimes the original knob or hinges have more character than new ones.
When To Upgrade Instead Of Repair
If your old door is warped, cracked, or has loose hinges that won’t hold, a new prehung door is usually better than trying to fix it. Modern units seal better, look fresher, and can be installed in a few hours.
According to the U.S. Department of Energy, upgrading exterior doors can improve energy efficiency and security. If you feel drafts, see light around the frame, or your door doesn’t lock tightly, consider replacement.
For more on door types and energy savings, visit the U.S. Department of Energy.

Frequently Asked Questions
How Do I Know Which Way My Door Should Swing?
Stand with your back to the hinges. If the door opens to your right, it’s a right-hand door; if it opens to your left, it’s a left-hand door. Think about room layout and traffic before deciding.
Can I Install A Prehung Door By Myself?
Yes, for standard interior doors, a careful DIYer can do the job. It helps to have a friend to hold the door while you shim and level. For heavy or exterior doors, two people are best.
What If My Rough Opening Is Too Big?
You can fill larger gaps with extra shims or thin wood strips. Just make sure the frame stays square and plumb. Avoid using too much spray foam—it can bow the frame.
Should I Use Nails Or Screws To Attach The Frame?
Screws provide a stronger, more adjustable hold, especially for heavy doors or uneven openings. Nails are faster for interior trim and lighter doors. Both work if installed correctly.
How Can I Make Sure My Door Seals Tightly?
Check that the weatherstripping touches the door all the way around. Seal gaps with foam or caulk. The door should latch firmly without rattling. If light or air comes through, adjust the frame or weatherstripping.
Hanging a prehung door isn’t just a beginner’s project—it’s a chance to add comfort, style, and value to your home. With patience and these step-by-step tips, you’ll enjoy a door that works right for years to come.